14 Best Zion Hikes To Enjoy

We loved the hikes in Zion National Park and found them to be some of the most incredible trails in Southern Utah. Hikers in the American Southwest can enjoy views of a rust-colored canyon that looks like the earth cleaved in two. Its sheer cliffs make for some astounding viewpoints; they only require the nerve and stamina to gain them.
Zion hikes such as the Angels Landing and The Narrows are iconic and known far beyond the canyon walls. You’d be mistaken if you believed this is all that Zion can offer hikers, as the park has plenty of more hikes. That includes some lovely walks along the Virgin River and multi-day backcountry adventures.
Read on to learn more about the hikes in Zion National Park!
Get a US Parks Pass to Visit Zion
To enter Zion National Park you are required to purchase a Parks Pass. Pass prices are as follows:
- 1-7 Day Vehicle Entrance: $35.00
- 1-7 Day Motorcycle Entrance: $30.00
- 1-7 Day Individual Entrance (foot or bicycle): $20.00
If you are visiting multiple US National Parks it’s best to purchase an America the Beautiful Pass for $80 for the year and grants you access to all registered parks. At just $80 for a year it’s quite a steal and you won’t have to worry about paying at every park entrance station.
About Zion National Park

Congress designated Zion a national park in 1919 – Utah’s first! It’s most known for its central feature, a large canyon cut by the Virgin River over millions of years. Now visitors enjoy the Zion hikes from the valley bottom and stare up in amazement at the sheer red sandstone canyon walls. In fact, they are believed to be the tallest in the world.
Zion is one of the coolest places to visit in the US, and I’m certain that the park can impress just about anyone with its scale and scenery. Zion has naturally increased in popularity over the years as more visitors sing its praises. The vast majority will visit the central canyon around the Virgin River. However, that is not all that comprises the 146,600 acres of Zion National Park.
The Kolob Canyon section makes up the northwest of Zion and has plenty to offer visitors. Kolob Canyons Drive is a wonderfully scenic drive that crosses several finger canyons and then ends high up on a ridge line at the Kolob Canyon Viewpoint.
Tips For Hiking in Zion
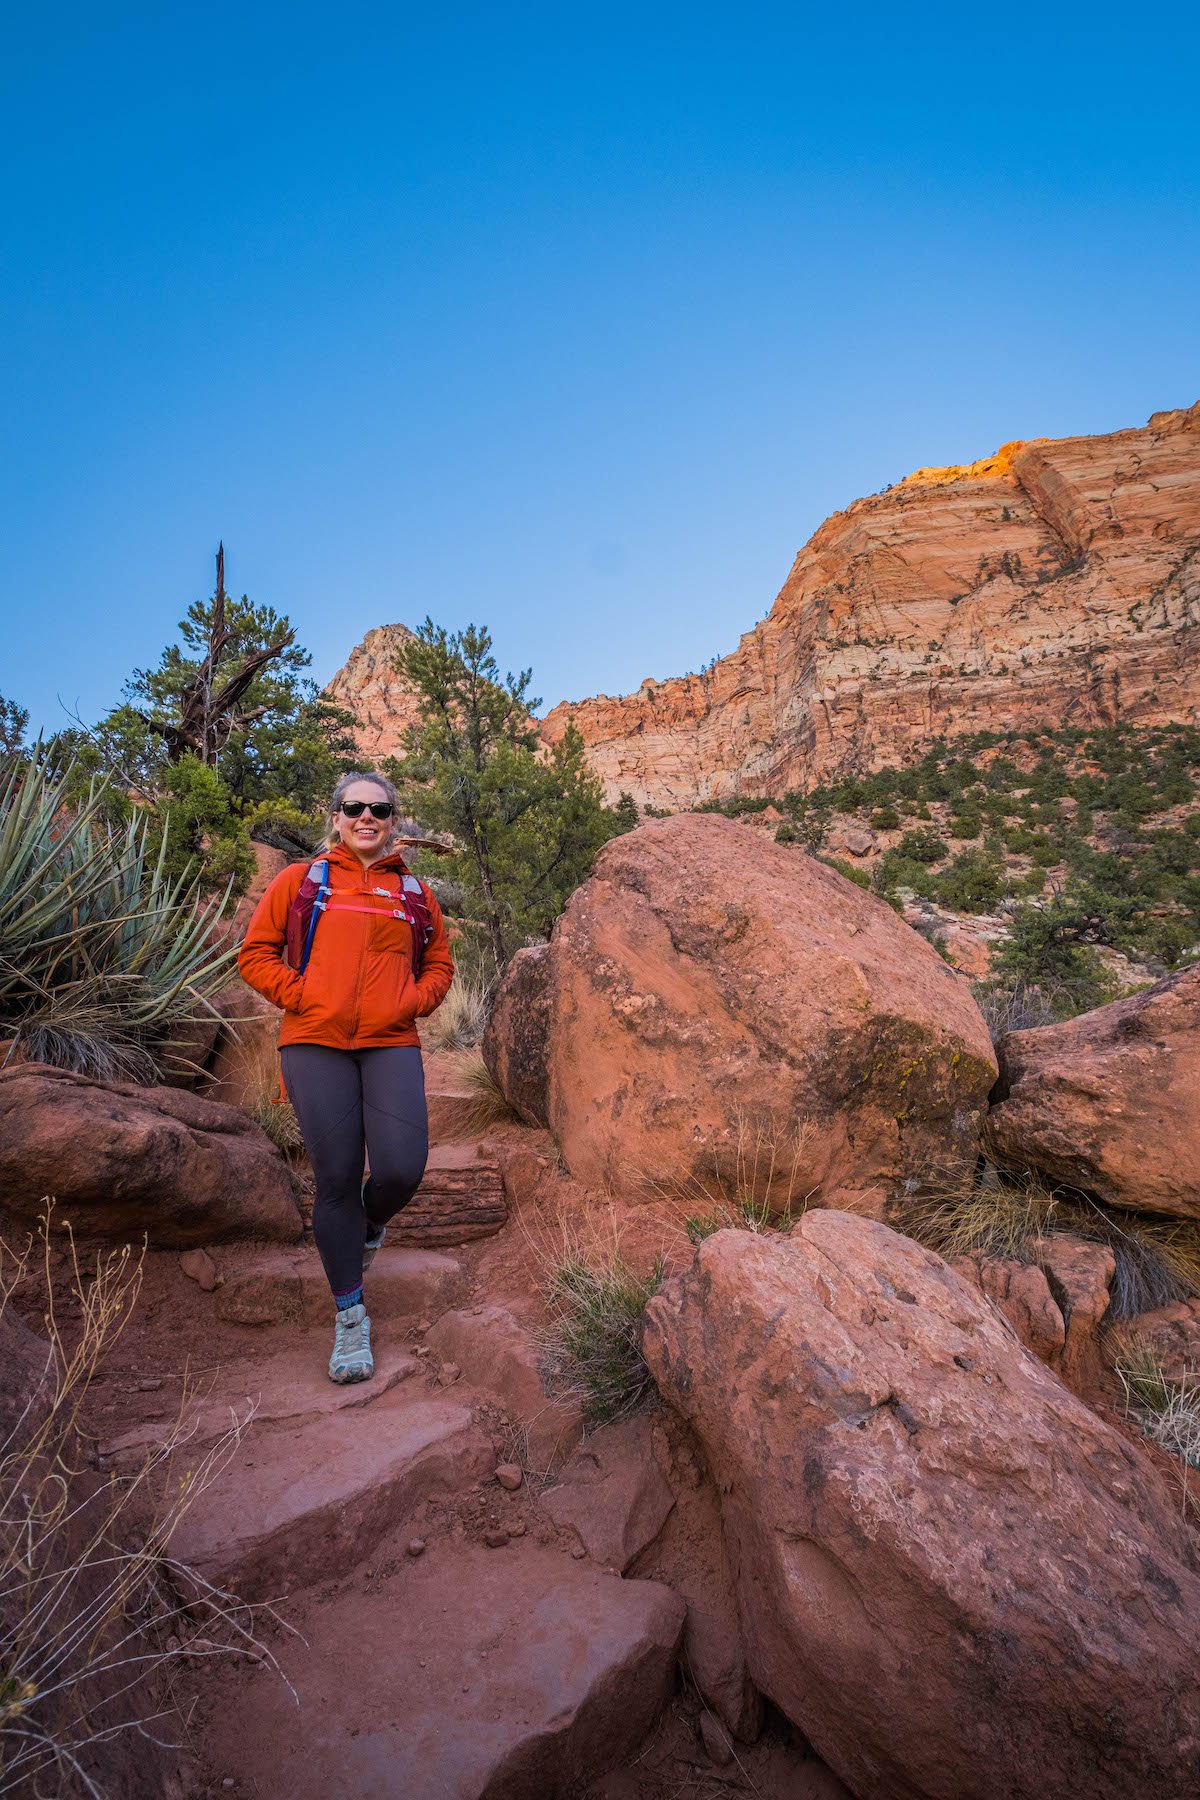
- Plan your Zion hikes and check for closures or trail conditions on the National Park Service website. Landslides, flash floods, and mudslides are widespread in the desert, and parks actively monitor risks. For example, once one of the most popular stops in Zion, Weeping Rock is experiencing a long-term closure to assess potential risks.
- Drink plenty of water! Desert is incredibly successful at drawing the fluids out of your body. While hiking in the desert, it’s advised to consume at least 4 liters or a gallon of water a day.
- Avoid hiking in the middle of the day. Temperatures can soar in the middle of the day, so it’s best to avoid the heat and hike in the morning or evening. We have a post with more tips on hiking in the desert.
- You can fuel up in Springdale. The town of Springdale sits at the Southern gate and serves as a great base for the park. You can grab some baked goods, coffee, food, and drinks. Or relax with a post-hike beer at the local brewery.
- Get your park pass in advance to speed things up. We highly recommend picking up an Annual Pass if you plan on spending more time in Utah or Arizona. For $80, it’s amazing the number of national monuments, recreation areas, and parks that you’re able to access.
- Dogs are allowed only on the Pa’rus trail, at campsites, and on park roads. That said, given that the number of places to take a dog is very limited, visitors are encouraged to make arrangements for pets before they get to the park. You can read about our B.A.R.K. Ranger Program in this news release.
Shuttle Reservations in Zion


To access several trailheads, such as The Narrows and Angels Landing, you need to ride the free park shuttle because the road is closed to private vehicles for most of the year. The Zion Shuttle System was something we weren’t used to dealing with when accessing national parks. But when I saw the numbers in Zion, I understand why they have it in place.
Most of Zion National Park (upper Zion Canyon and the Scenic Drive) is only accessible by shuttle so that the park reduces congestion and vehicles.
The system works very well. Staff are very friendly, shuttles run regularly, and stops are clearly marked. You can easily hop off one stop and hike along the Virgin River to the next stop. Be sure to watch for traffic if you are walking near the road, though.
Best Hikes in Zion National Park
The Narrows
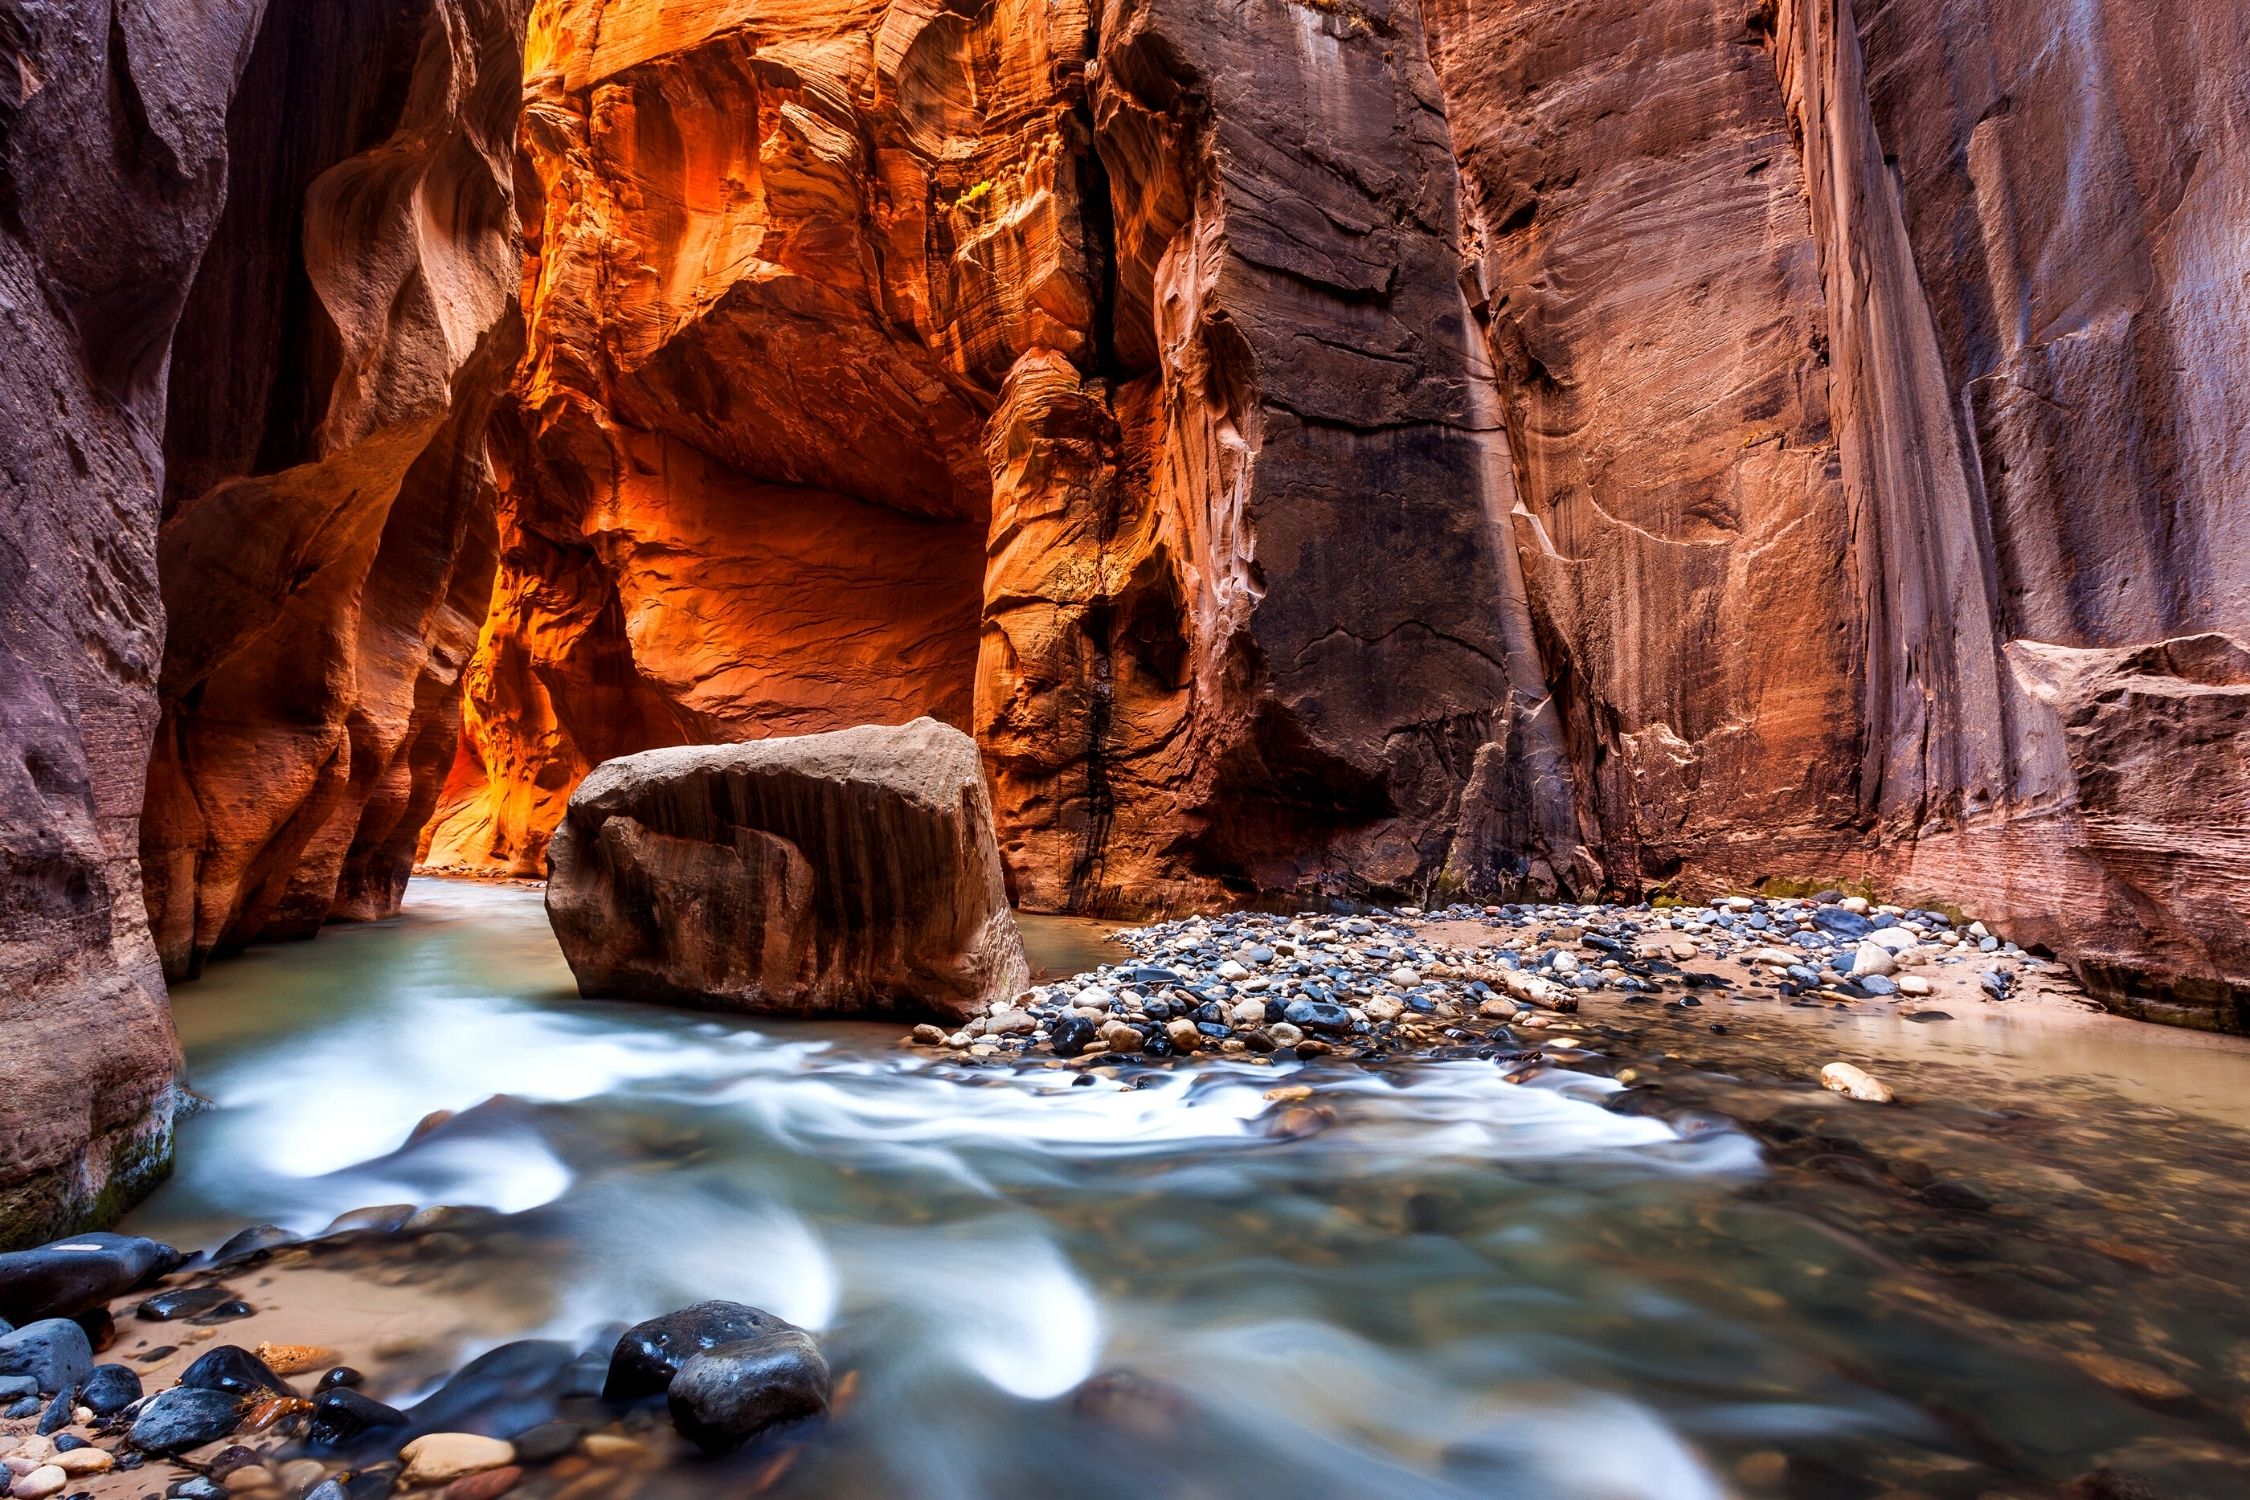


- Miles: 5 – 16 miles
- Elevation Gain: 332 ft
- Length: 5 – 10 hours
- Difficulty: Moderate
The Narrows is the quintessential Zion hike and easily the most famous of all the hikes in Zion. It’s not a trail but a canyoneering experience as you wade through a river in a dizzyingly deep slot canyon. Sheer canyon walls tower 2000 feet overhead as you hike through the Virgin River. It’s a hike that is certain to remain vivid in anyone’s mind.
Keep in mind that it’s the most popular hike in Zion, so it sees a lot of foot traffic, but it’s unlike anything else you’ve done before. There are two ways to hike The Narrows in Zion. From the bottom-up, starting on Riverside Walk at the Temple of Sinawava. Or from the top down, but that is a 16-mile strenuous hike that requires a permit.
From the bottom up allows you to choose your own hike length as you can hike as far as you like. Be prepared for a minimum of 3-5 miles as The Narrows are accessed by the Riverside Walk trail that is just over a mile long.
It’s advised for most hikers to make it to the “Confluence” where “Wall Street” begins. The Confluence is roughly three miles in, so that is six miles round trip. Many choose to continue along to the end of Wall Street, which is roughly another two miles or 10 miles round trip.
Although the river carved the deep slot canyon and formed much of Zion National Park, it is surprisingly shallow. On average, the river is shin-deep, but it can get as high as your chest (dependent on the season).
If you’re hiking during the cooler months, it’s advised to rent waders and a walking stick. Several rental providers operate in Springdale, and you can reserve online. Even if you’re hiking during the summer, a pair of neoprene socks and canyoneering boots are worth renting.
Emerald Pools Trail
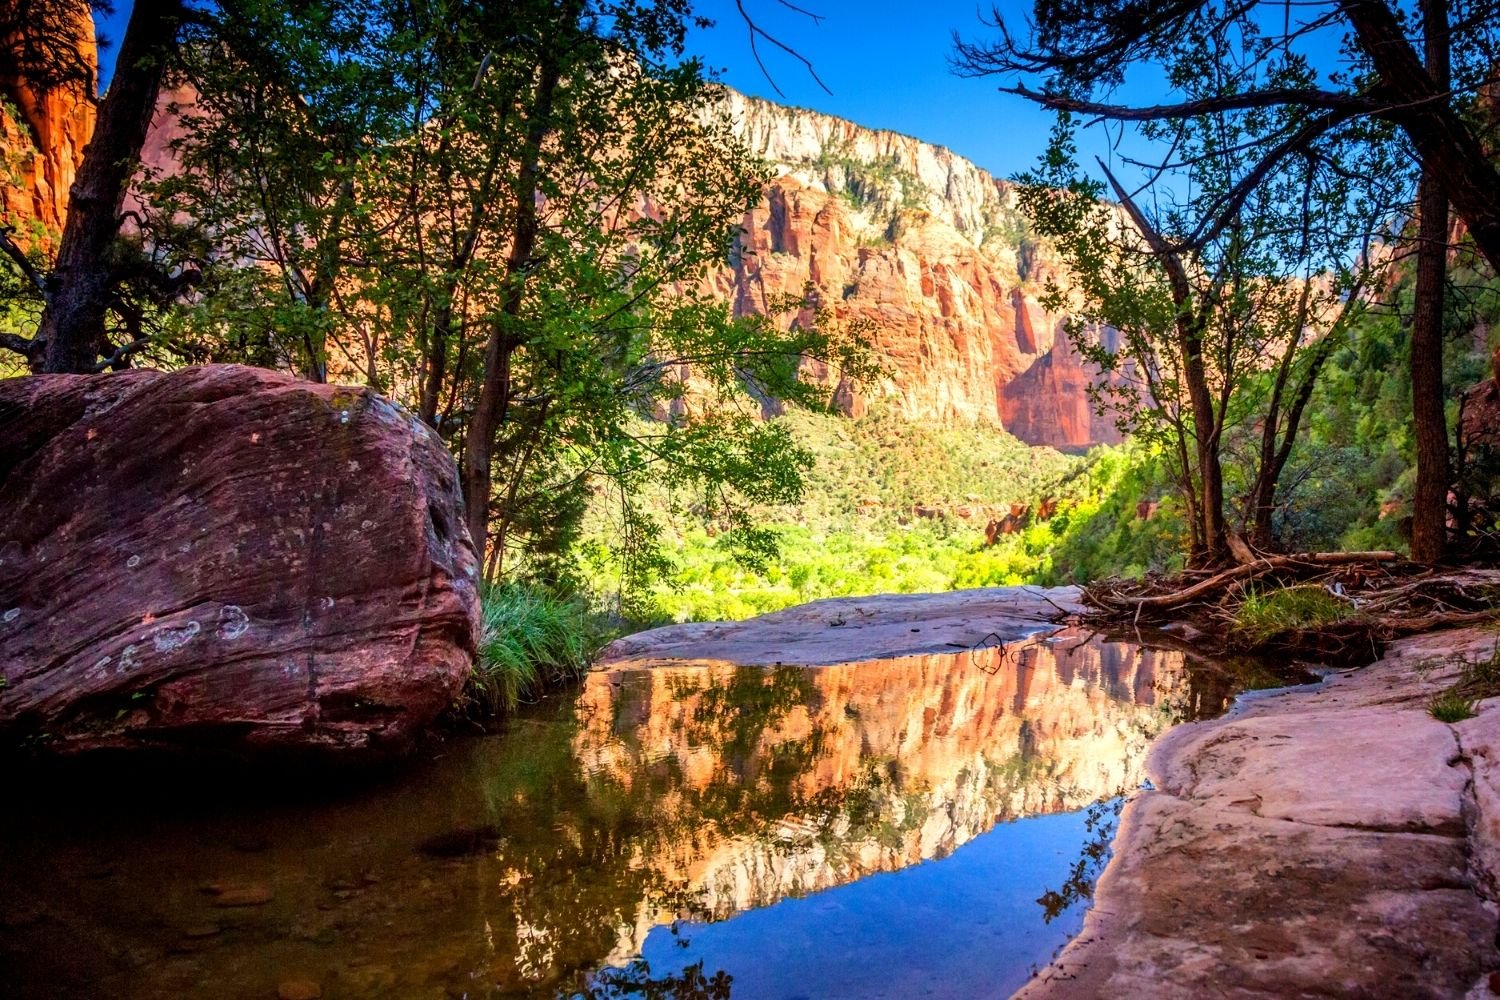
- Miles: 1 – 3 miles
- Elevation Gain: 40 – 200 ft.
- Length: 30 min – 2 hours
- Difficulty: Easy
This is a great family hike, and it takes you along some interesting scenery without a lot of elevation gain. The trail makes its way to the three Emerald Pools, referred to as the lower, middle, and upper pools. A paved trail that passes under a waterfall and through thick vegetation takes hikes to Lower Emerald Pools. From the trail, the slight elevation gain allows for some terrific views of the canyon down below.
To reach the Middle Pool, you must climb further up a series of stairs and afford even better views, but the pool itself is a tad underwhelming. As you continue to gain elevation to the Upper Pool, you creep closer and closer to canyon walls. The trail terminates at the Upper Pool. A quaint spot tucked away under massive sandstone canyon walls.
The trail also connects nicely with the Kayenta trail we used after finishing our hike up to Angels Landing at shuttle stop #6. The trail for Emerald Pools starts at Shuttle Stop #5 or the Zion Canyon Lodge.
Angel’s Landing


- Miles: 5.4 miles/8.7 km
- Elevation Gain: 1488 ft/453 meters
- Length: 2 – 6 hours
- Difficulty: Difficult
Angels Landing is one of the most well-known hikes in the National Parks System and is a classic of the hikes in Zion. Its final viewpoint provides an exquisite panorama of the entire canyon. It does require some work to reach that viewpoint, and I would not recommend it for anyone with a fear of heights. This comes down to the final 500 feet of elevation that climbs a thin ridge flanked by cliff walls that drop all the way to the valley floor.
It’s one of the most well-maintained trails we’ve ever hiked. It was a far cry from the often rough and wild trails at our home in Banff. It’s a real triumph of trail-making as the trail is superbly maintained and crafted.
The trail starts at the Grotto Trailhead or stop shuttle #6 and follows the West Rim Trail up and out of the canyon to Scout Lookout. If you’re afraid of height, it’s a good turnaround point, and the view is still sensational. Those who feel like braving the ridge walk to the summit of Angels Landing another 500 feet of elevation, chains, and cliffs await. It’s a pretty thrilling experience, but it all depends on your risk tolerance and experience.
For some, the views will make their knees shake while others will move along. It is worth noting that congestion can get very bad midday on the chains, so it’s best to shoot for early or late in the day.
There is a new Angels Landing Pilot Permit Program,and requires those who wish to hike Angels Landing to get a permit agead of time. All the information can be found here – go.nps.gov/AngelsLanding.
Essentially, you can get a permit using one of the park’s online permit lotteries as the park does not issue permits in person. If you know when you’ll travel to the park, you can apply to one of the park’s Seasonal Lotteries. These usually happen about three months before hiking dates. If you don’t know exactly when you’ll be in the park, you can apply to the park’s Day-before Lottery which opens every day at 12:01 a.m. and closes at 3 p.m.
No matter which lottery you enter (you’re allowed to enter both if you want), every applicant has the same fair chance of getting a permit. And, since these are lotteries, it doesn’t matter what time you apply as long as you submit your application before the deadline. If you’d like to learn more, we have a post on the Angels Landing hike.
West Rim Trail
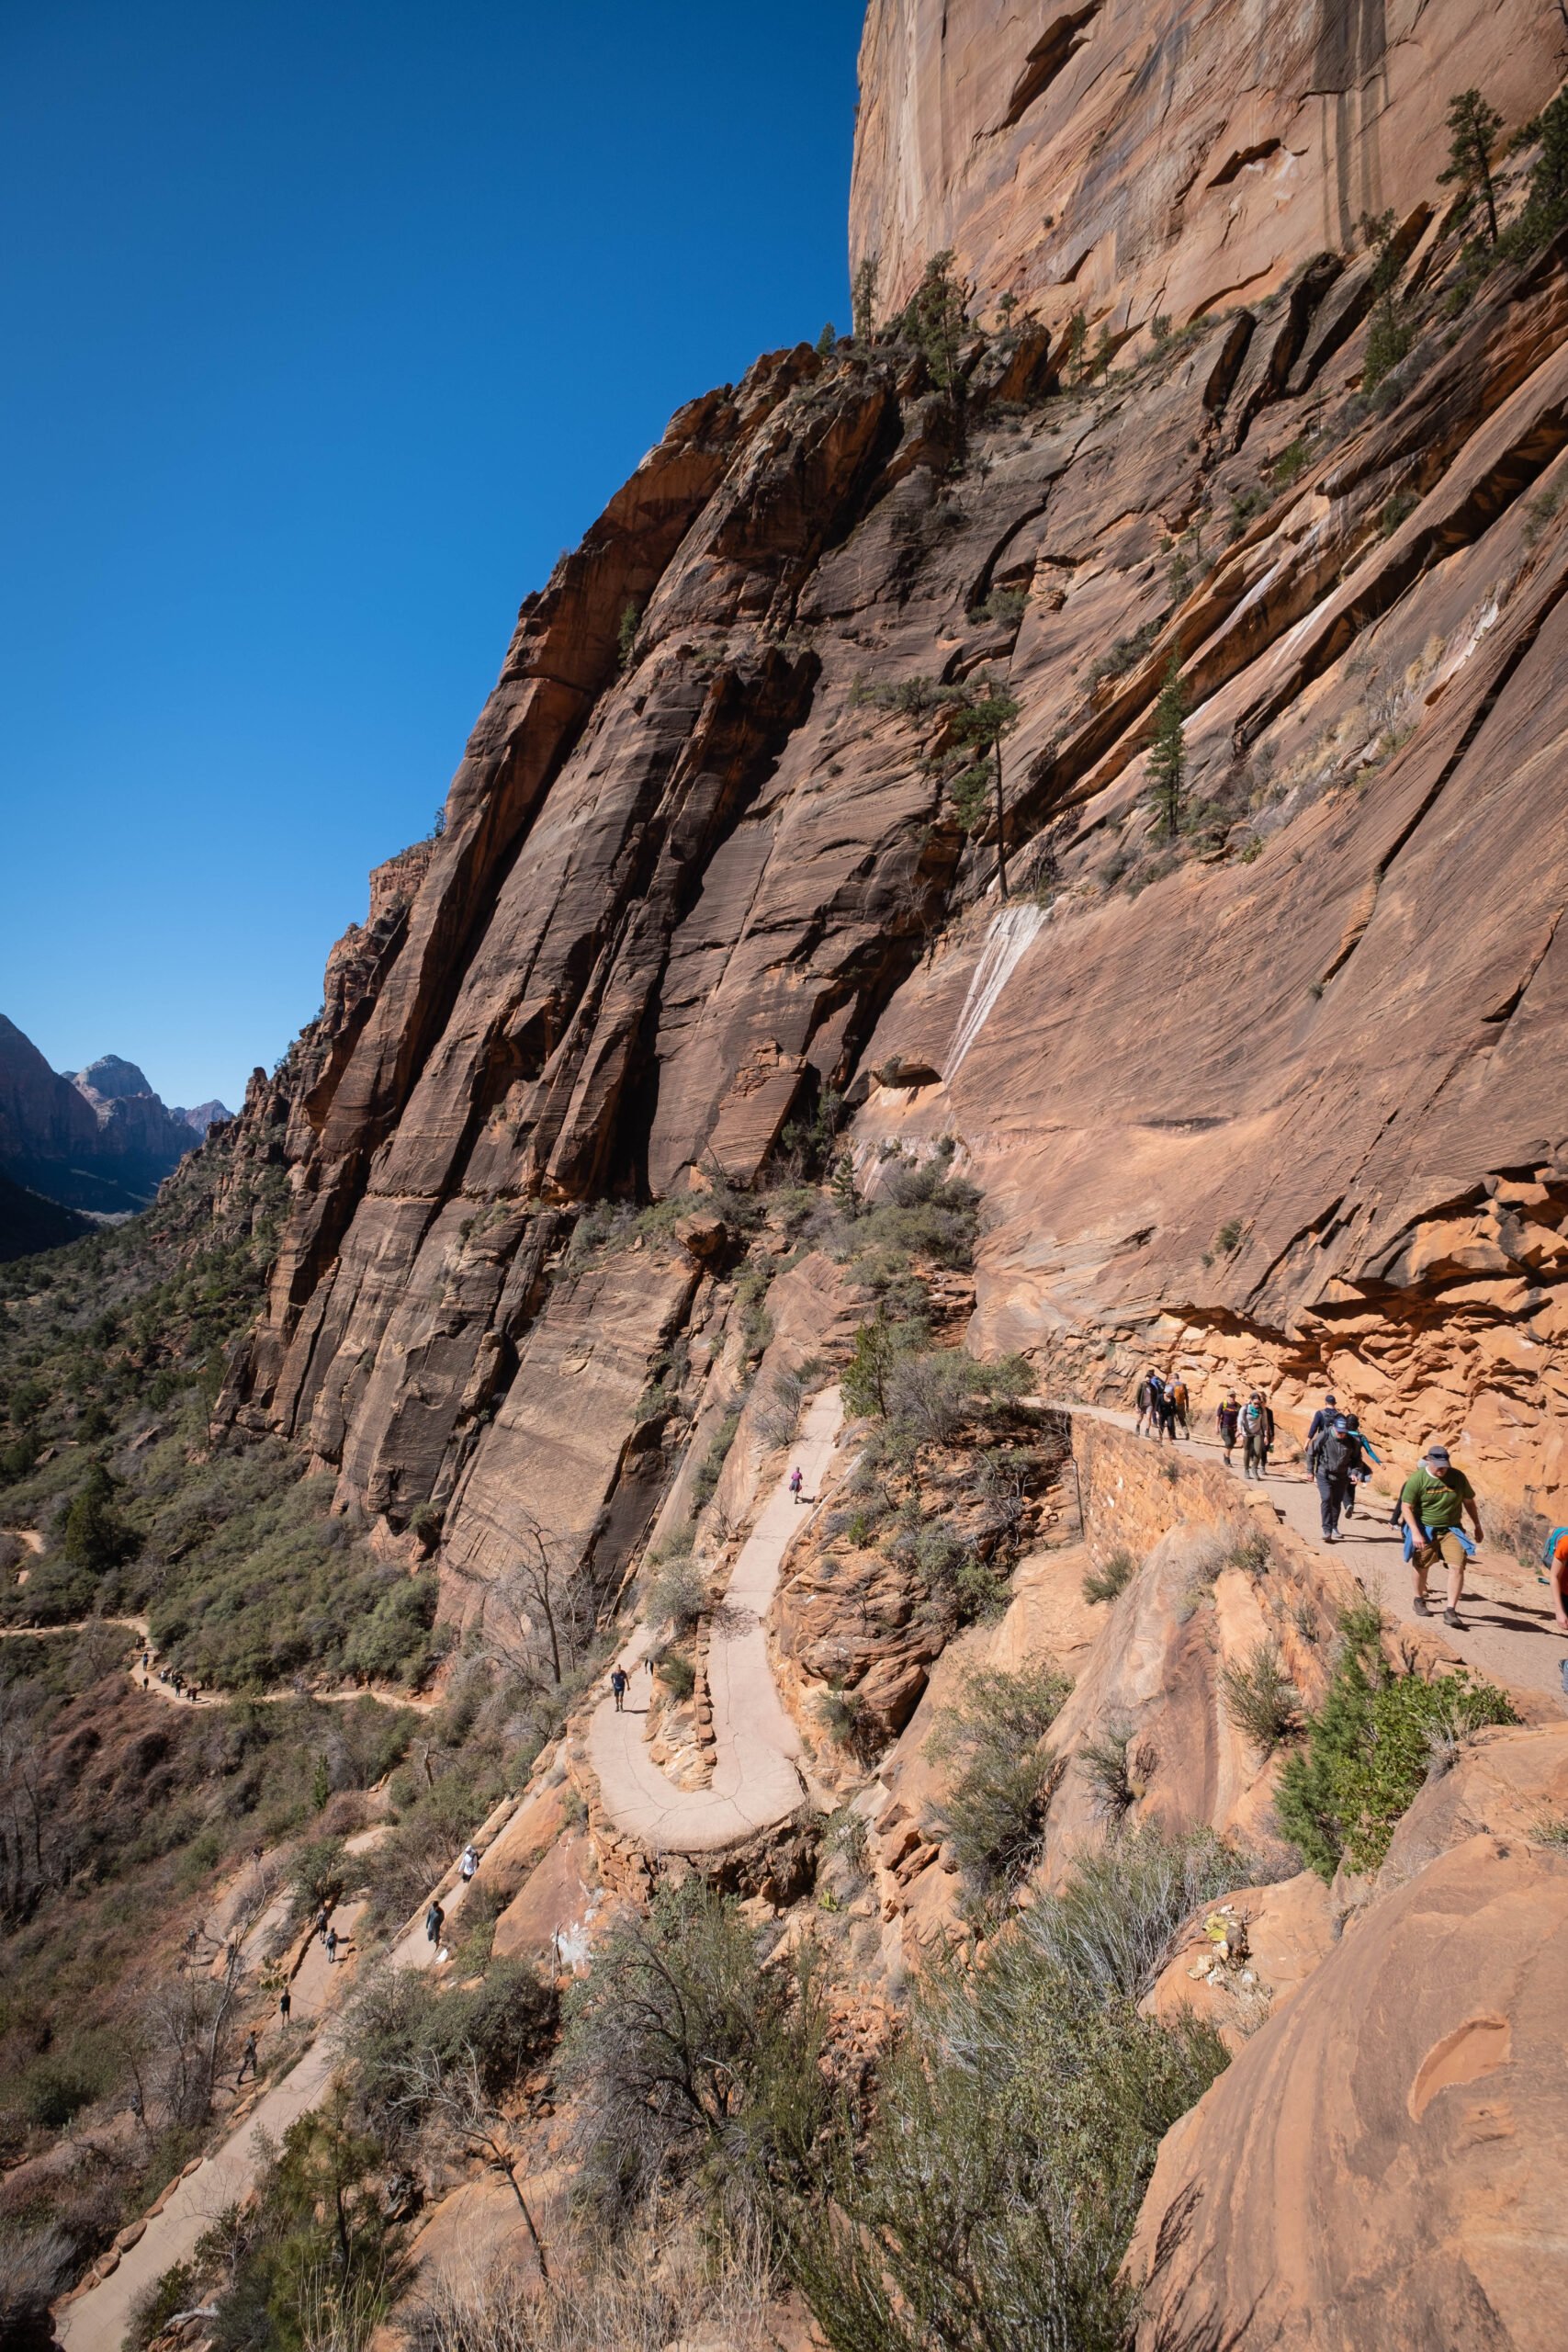
If you’re afraid of heights but still want to enjoy the trail up to Angels Landing, you can follow the route up to Scouts Lookout. Pavement is the primary surface up to the Scout Lookout, and the most elevation is gained via a series of impressive switchbacks along the canyon wall known as Walter’s Wiggles. After the first 1,000 feet, you’ll arrive at Scouts Lookout, a vista that has a restroom and plenty of rocks to take a break.
The trail continues past Scouts Lookout and crosses Zion National Park to Lava Point for the more adventurous. Many who chose to hike the whole of the West Rim Trail start at Lava Point in the Kolob Canyon section of the park and head south for a descent into Zion Canyon.
The route from Lava Point would be 17 miles one-way and requires some planning as it is a point to point. It’s possible to do the hike in one day or as a two-day backpacking trip. Several operators in town offer a shuttle service from Springdale.
Watchman Trail

- Miles: 3 miles
- Elevation Gain: 300 ft
- Length: 1 – 3 hours
- Difficulty: Easy/Moderate
The Watchman Trail is a great alternative if you’re unable to secure reservations on the shuttle system. We also love it for a sunrise or sunset hike if you’re staying overnight in Springdale. It’s a moderate hike that only takes an hour or so to complete and provides an excellent view of the Springdale Valley.
It’s largely overlooked for the more popular trails and sights in the park. However, it’s a really rewarding hike and we were happy we made the trek up to the viewpoint. The trail ends at a cliff overlooking Zion National Park. With viewpoints of the Temples and Towers, lower Zion Canyon, Watchman Peak, and the town of Springdale.
The Subway
- Miles: 9 miles
- Elevation Gain: 1,300 ft
- Length: 5 – 10 hrs
- Difficulty: Difficult
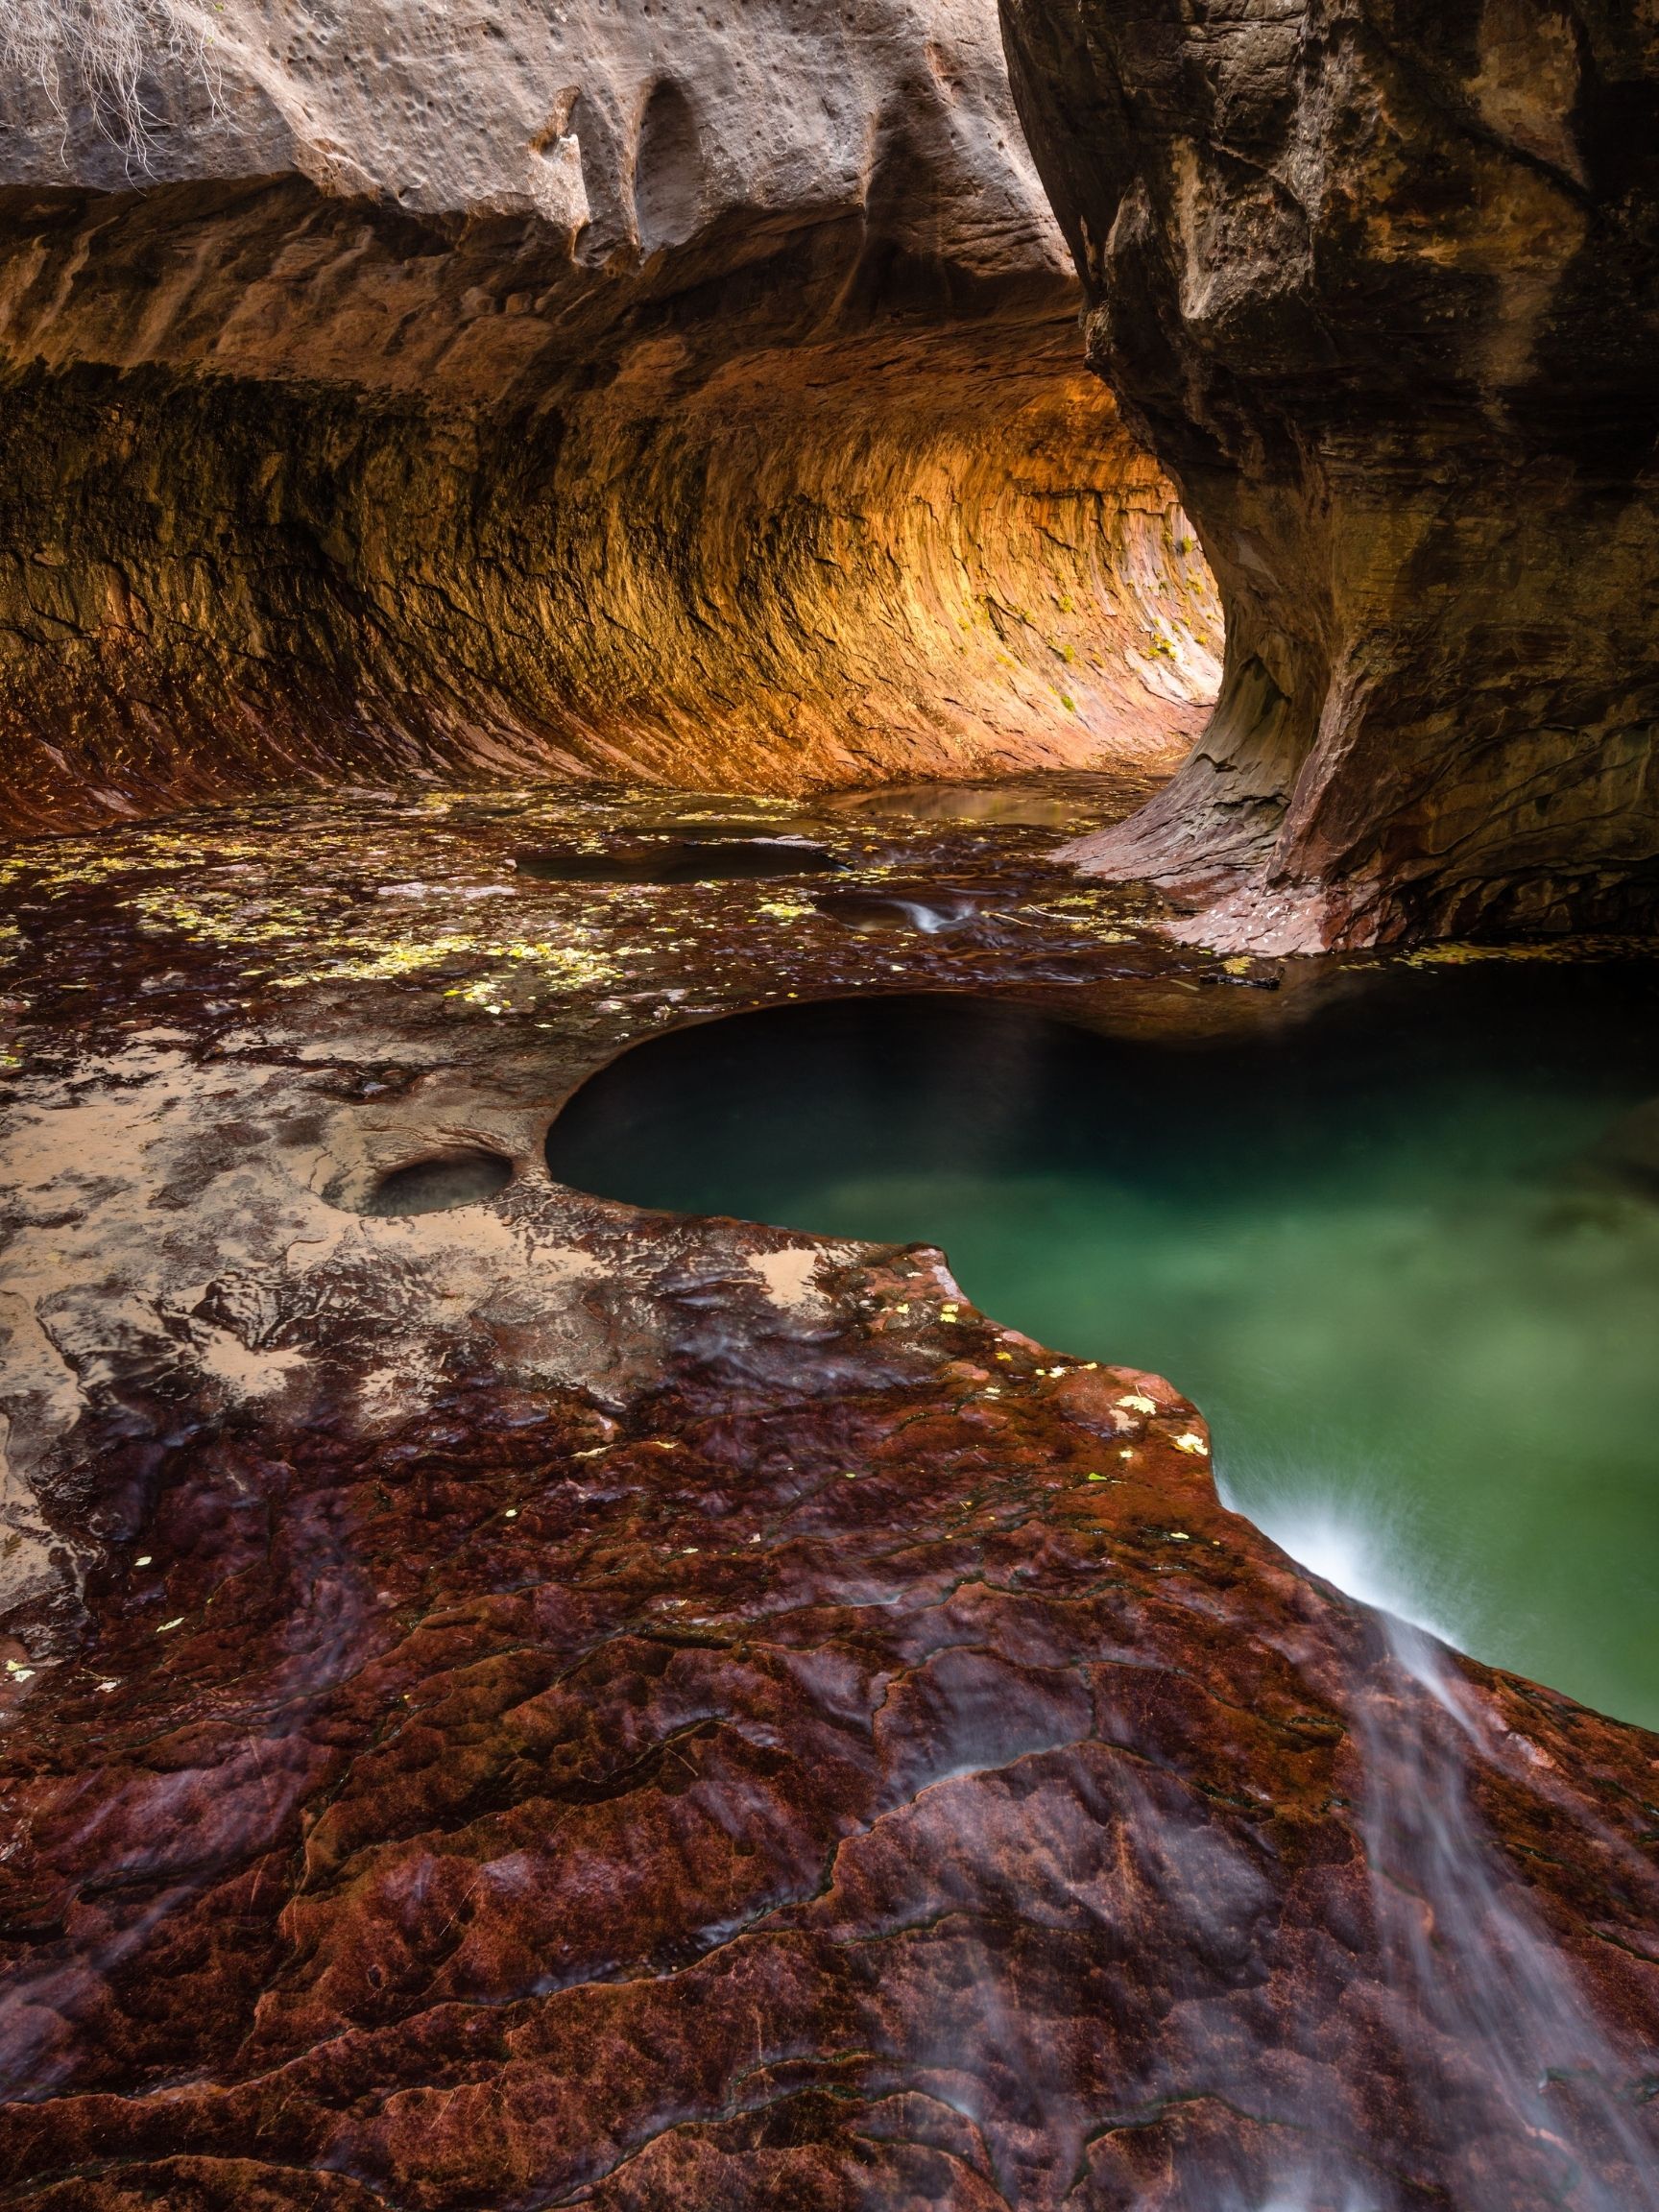
One of the most unforgettable hikes in Zion does not occur in the central section of the park. The Subway hike is similar to The Narrows as it travels through the river in a slot canyon. However, the hike to the Subway from the bottom-up is far more strenuous and difficult.
You must descend 400 feet down to the canyon from the trailhead before you regain 600 ft on your way to the Subway. Along the way, you’ll have to cross over boulders, small waterfalls, and the river itself. Don’t worry about the work, though, as it is well worth the reward as you’ll be treated to waterfalls, dinosaur tracks, and the wild subway tunnel formation.
To preserve the amazing natural features of this hike, a wilderness permit is required. Permits are issued via a lottery due to the high demand for this incredible hike. Applications for the lottery open three months in advance. A $5 non-refundable fee is required to enter the permit, and you’re allowed to pick three dates for the draw.
DO THIS HIKE if you’re lucky enough to score permits!
Zion Canyon Overlook Trail

- Miles: 1 mile
- Elevation Gain: 150 ft
- Length: 30 min – 1 hr
- Difficulty: Easy
This short trail takes you to one of the most expansive overlooks in the park, and it requires little effort to reach. The classic work vs. reward tips heavily in favor of reward with this hike in Zion. For this reason, it’s a hot spot for both hikers and photographers.
The trailhead starts along the Zion-Mt. Carmel Highway (which connects the two ends of Utah highway 9 on either side of the park) and does not require a shuttle ride – except you will need to score a parking spot. A short hike to the overlook manages to gain what little elevation it does over a short distance. Elevation gain is a modest 100 feet that pass through shaded alcoves of ferns and trees.
Weeping Rock

- Miles: 0.4 miles
- Elevation Gain: 36 ft
- Length: 30 minutes
- Difficulty: EASY!
Weeping Rock is a world-famous landmark of Zion National Park, and it’s only a short hike. The waterfall is an incredibly unique feature of the park, and it’s a hike beloved by many visitors. However, the area around Weeping Rock experienced a massive rockslide in 2019 and has been closed ever since. There is no timeline or estimation as to when the area will reopen to visitors.
Zion Riverside Walk

- Miles: 2.2 miles
- Elevation Gain: 57 ft
- Length: 1 hour
- Difficulty: Easy
Riverside Walk is a paved trail that follows the Virgin River and offers some lovely scenery of the vegetation in Zion. Along the river, hikers can take in the lovely weeping walls and hanging gardens. This hike ends where the Narrows hike begins, and anyone who hikes the Narrows will also cross this section of trail.
It’s a flat, easy, and family-friendly hike. The hike is roughly two miles long round trip and takes around one or two hours to complete. Even if you’re not going to venture into the Narrows, this is a great hike, and you’ll still reach the mouth of the famous slot canyon.
Observation Point
- Miles: 8 miles
- Elevation Gain: 2,300 ft
- Length: 4 – 6 hours
- Difficulty: Difficult
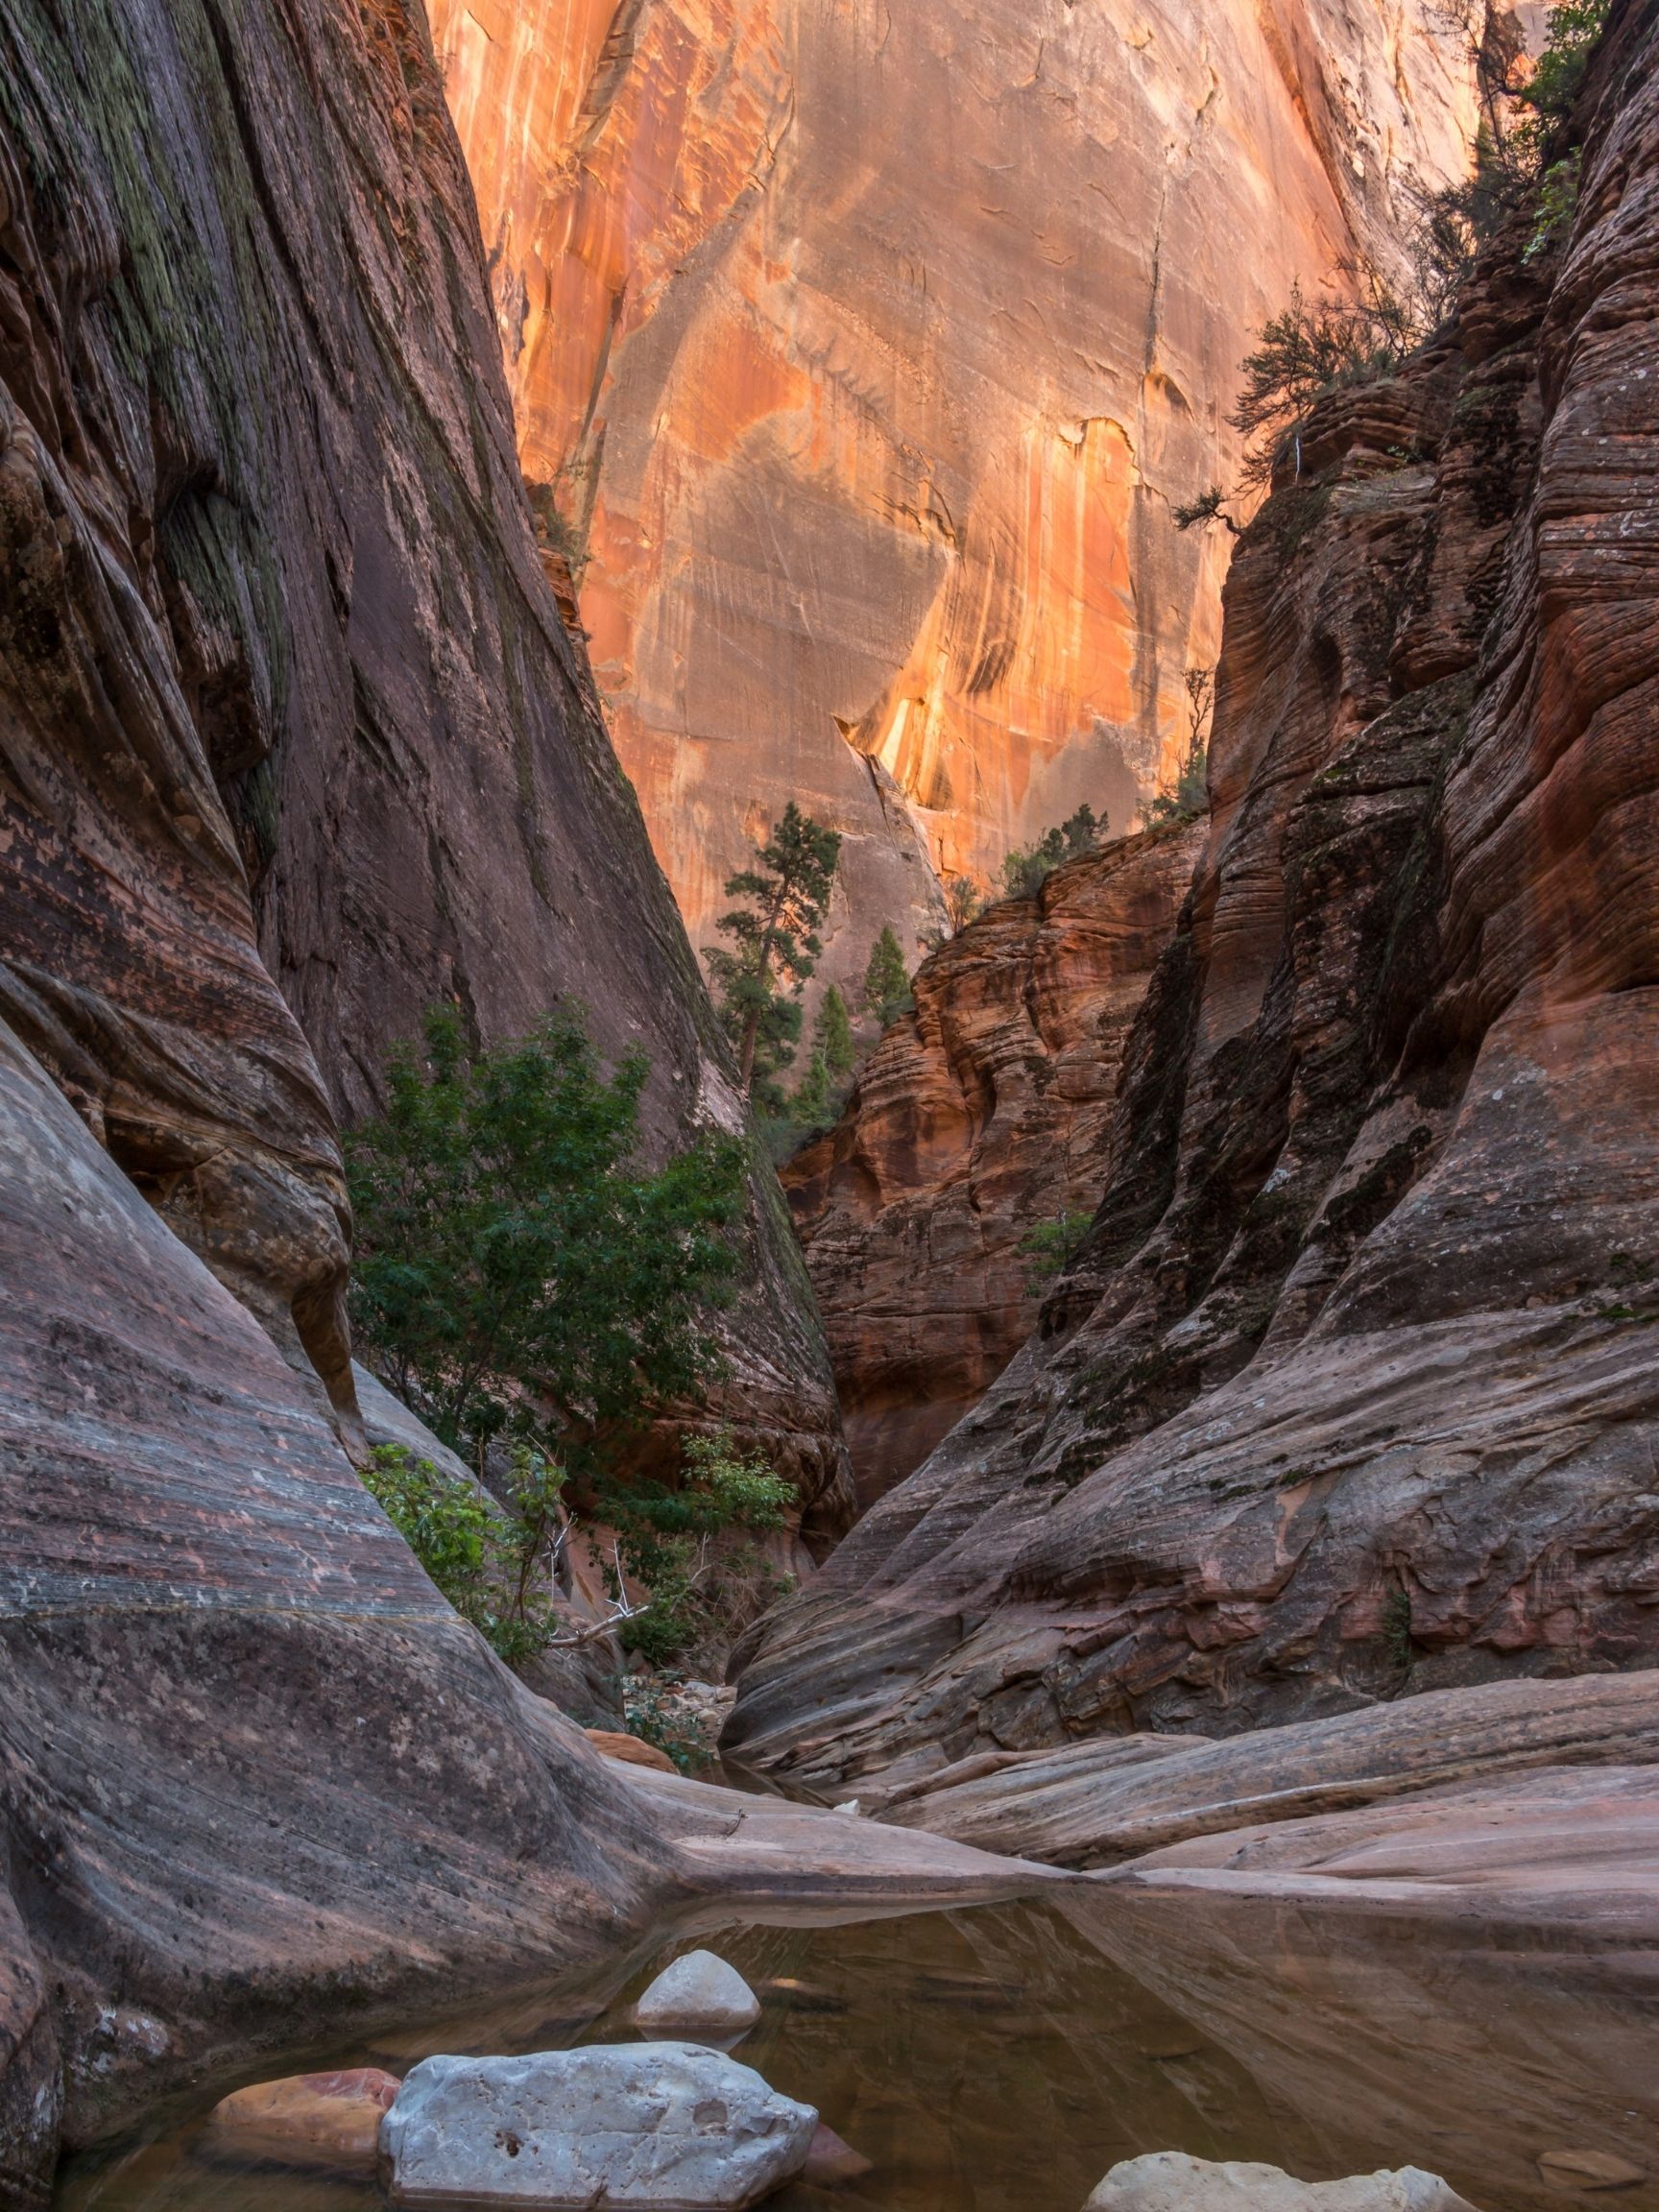
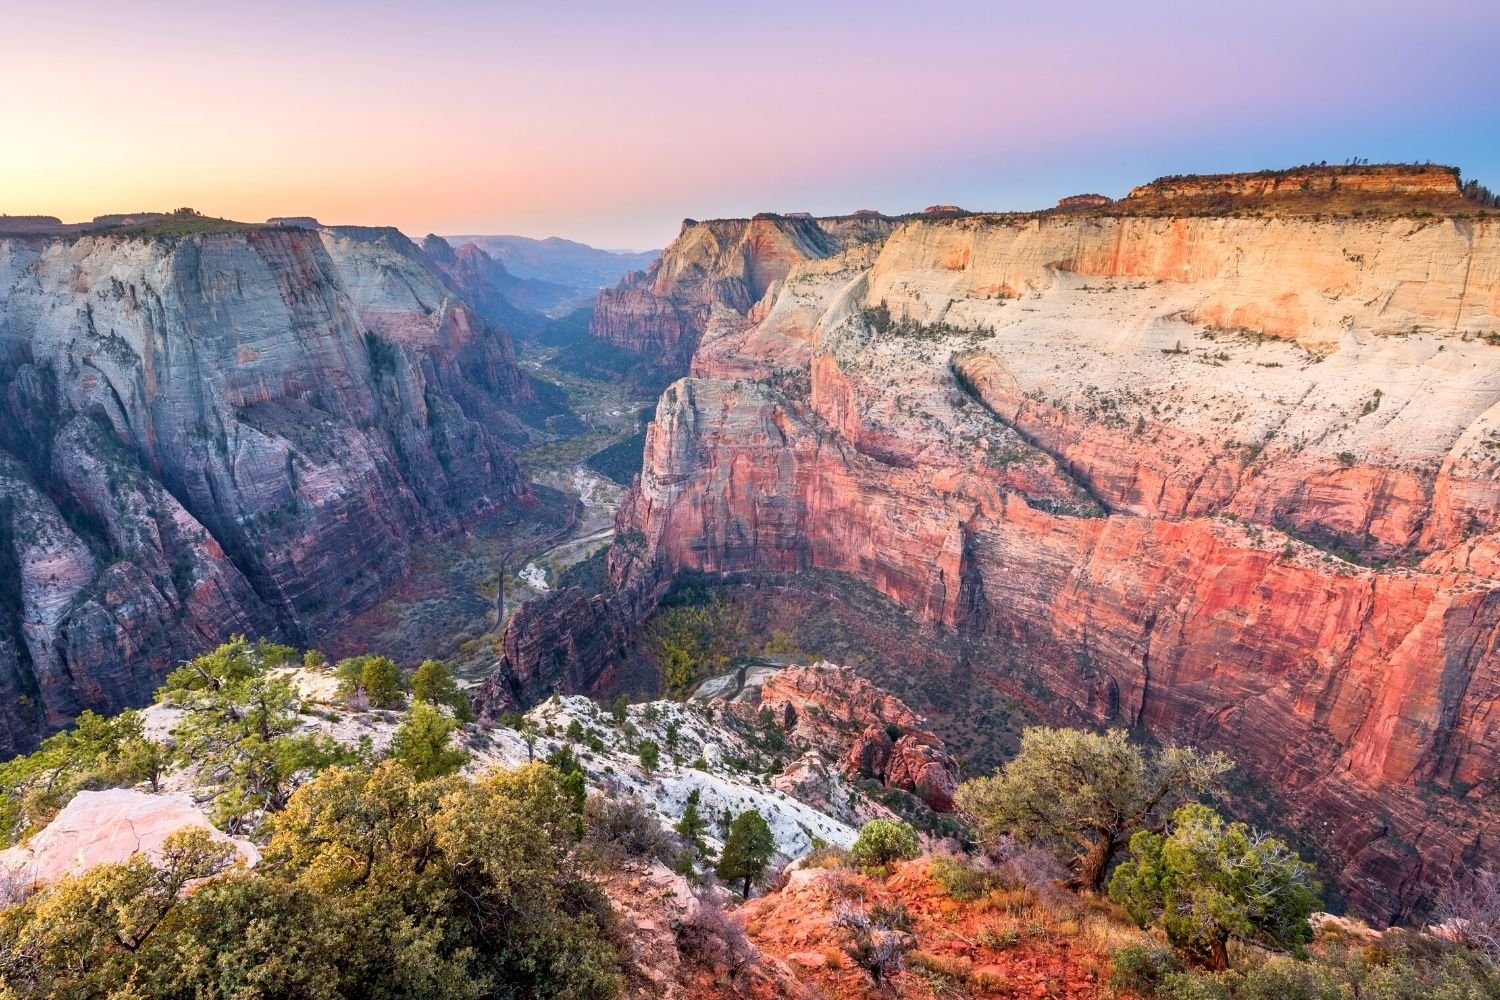
Observation Point is a classic hike in Zion Canyon and, as its name suggests, offers tremendous views. The hike starts from East Rim Trailhead (accessed from outside the park on a dirt road best traveled in a four wheel drive vehicle) and ends at a classic viewpoint. That viewpoint takes some work, though. However the views from Observation Point are even better than Angels Landing.
Hidden Canyon
- Miles: 2.9 miles
- Elevation Gain: 940 ft
- Length: 2 – 3 hours
- Difficulty: Moderate
**Currently closed due to a rockfall
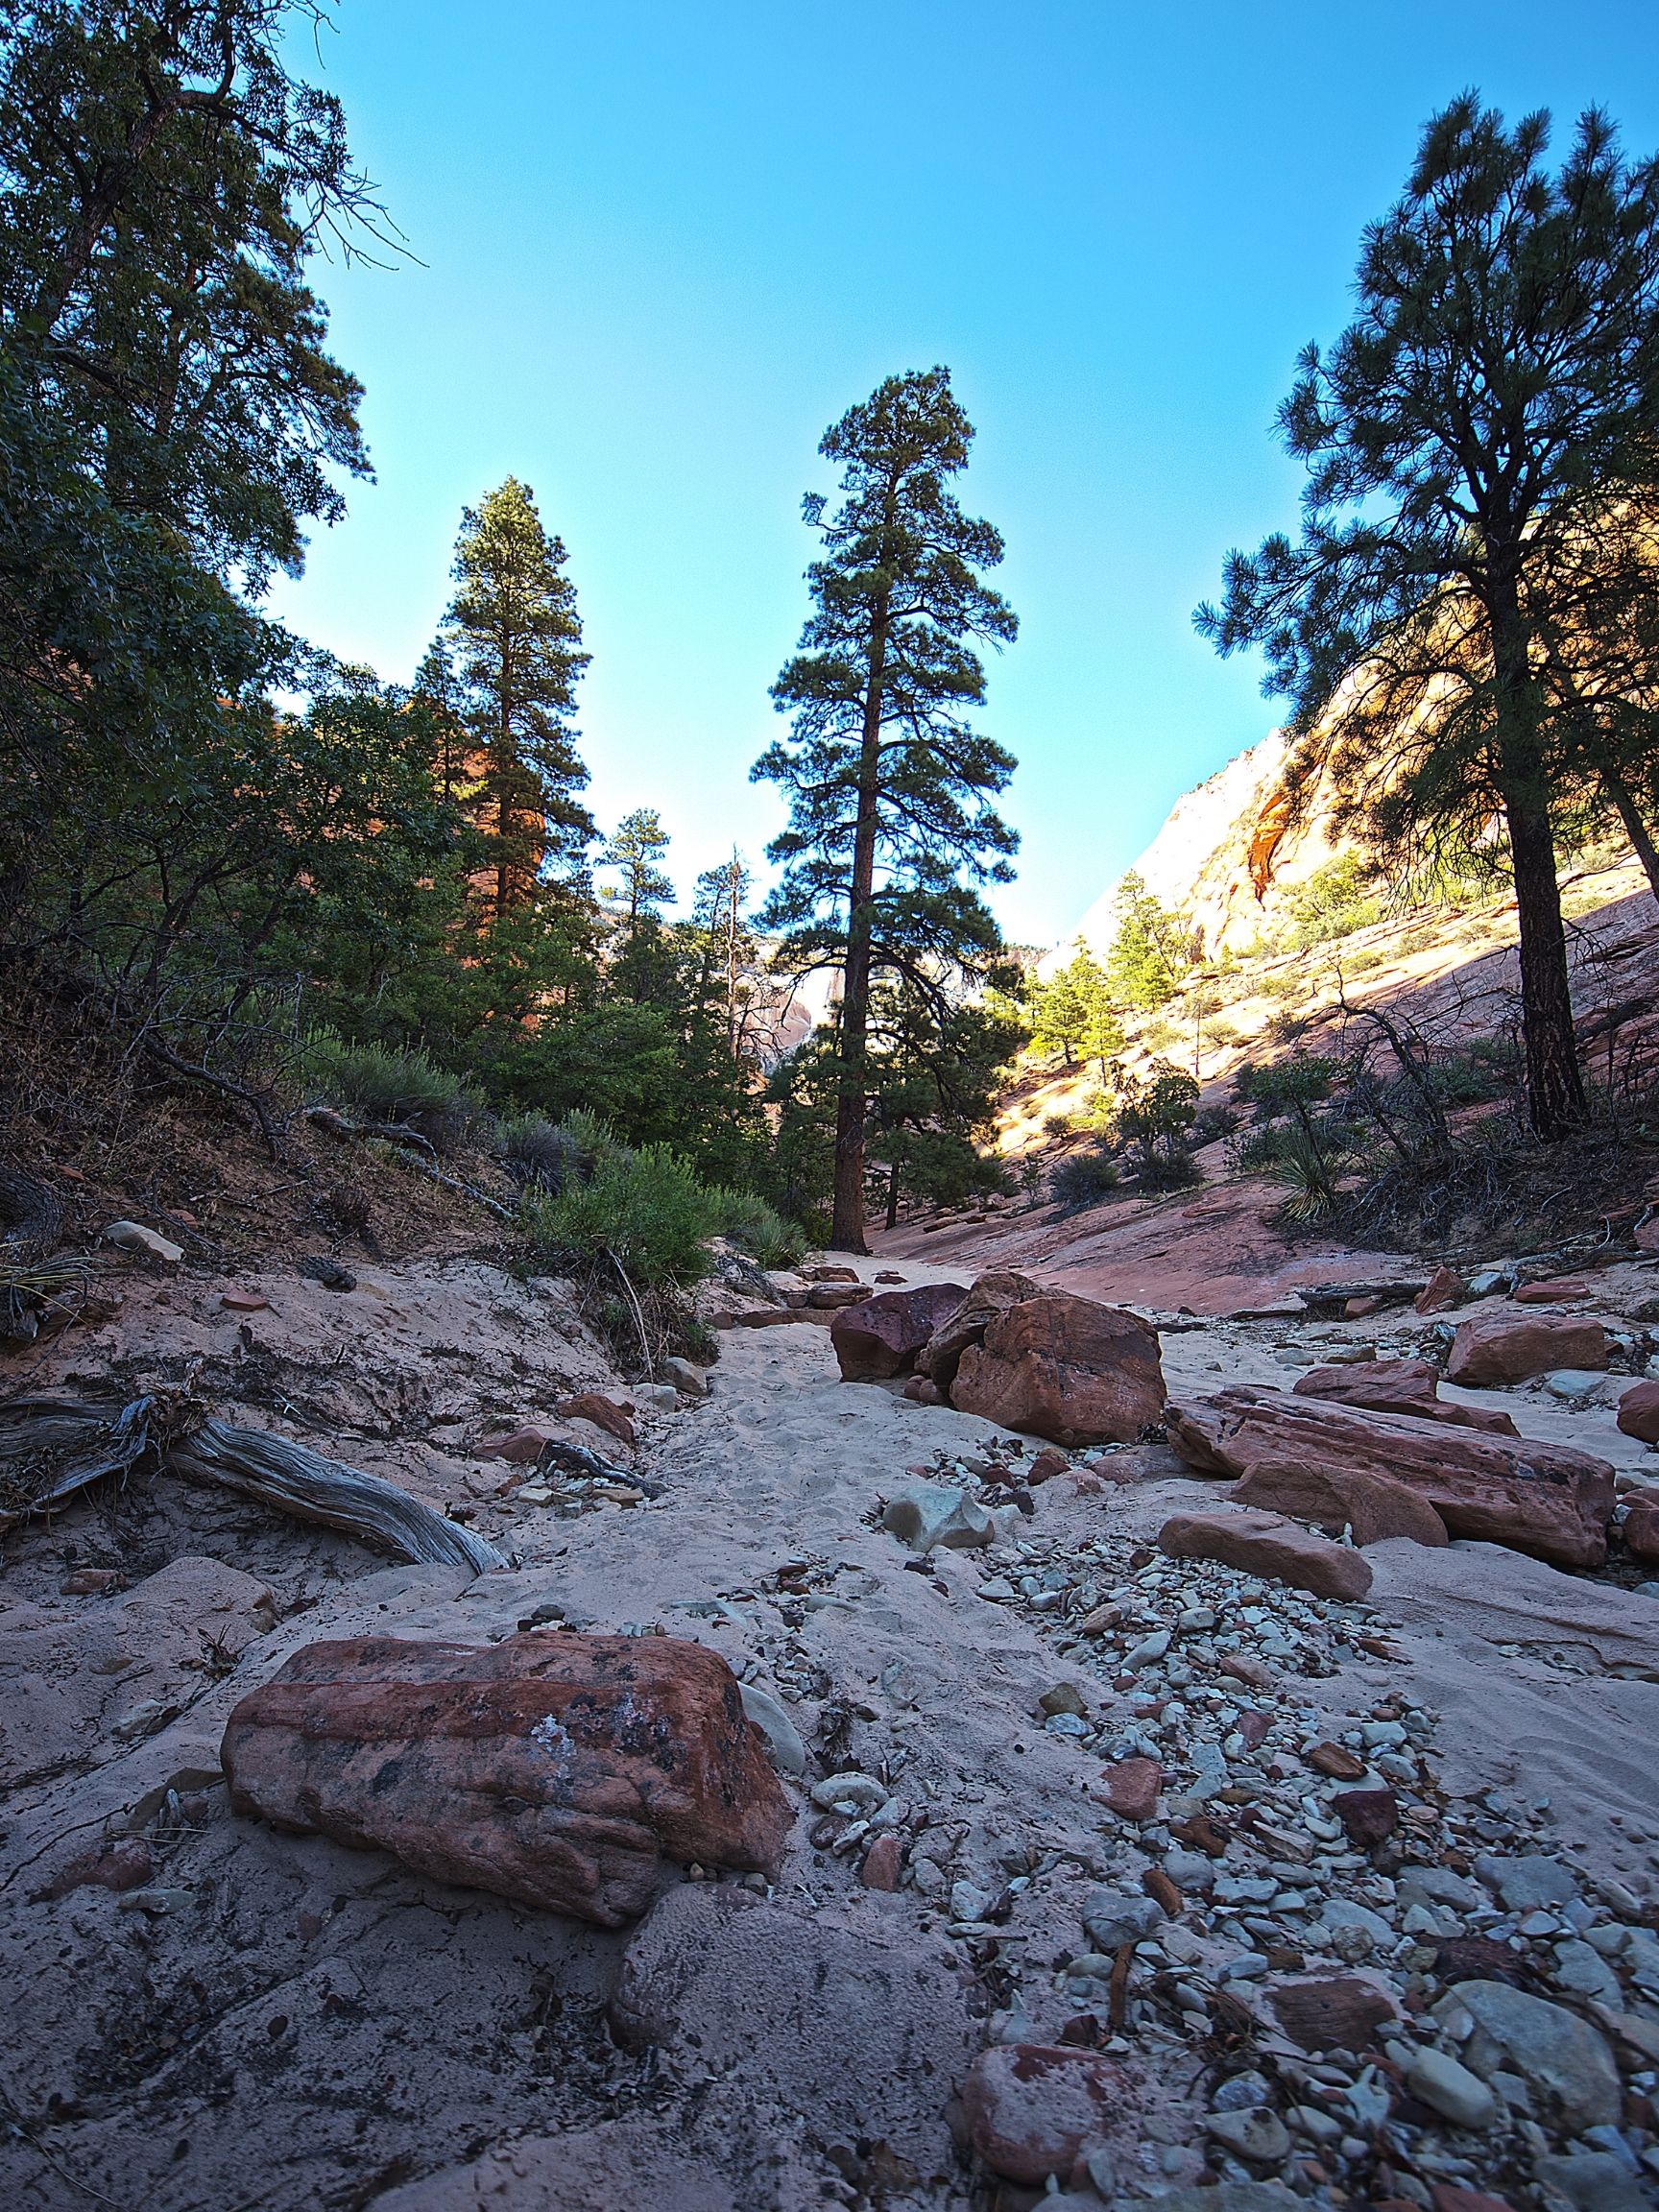
For a thrilling hike that is far less busy than Angels Landing, consider Hidden Canyon. The route to a slot canyon tucked away high above the valley floor of Zion starts along the same route for Observation Point. Several thrilling sections cling precariously close to cliff edges, and hikers can take advantage of a series of chains for balance. While it’s thrilling for brief sections, it does not offer the same expansive views as Angels Landing.
However, the trail sees far fewer visitors than the more popular hikes in Zion and is well worth visiting. At its terminus, hikers arrive at a quiet canyon full of vegetation and ripe for exploration. It’s a great addition if you’re going to hike up to Observation Point. Due to the rock slide in 2019, the hike is currently closed.
Taylor Creek Trail

- Miles: 5 miles
- Elevation Gain: 450 ft
- Length: 3 – 4 hours
- Difficulty: Moderate
Taylor Creek is one of the best official hikes in the Kolob Canyons section of Zion National Park. It’s a popular and pleasant hike up a “finger” canyon. It’s an easy hike, but some sections require navigating over large rocks and a stream crossing.
As you move through the canyon, it continues to narrow until you reach the Double Arch Alcove. It’s a wonderful trail that has some tremendous views and passes two historic cabins. We really recommend exploring the Kolob Canyons section of Zion, and this hike feels like the perfect length to stretch the legs.
Pa’rus Trail

- Miles: 3.5 miles
- Elevation Gain: 100 ft
- Length: 1 – 3 hours
- Difficulty: Easy
Dogs are not allowed in Zion National Park except on the Pa’rus Trail. This pleasant trail is paved and begins at the Zion National Park Visitor Center. It’s a family-friendly trail that makes for an exceptional morning or evening stroll. Along the way, you pass plenty of scenic vistas that provide excellent views of the massive canyon walls.
The lovely trail follows the Virgin River to the junction of Zion Canyon Scenic Drive. It’s a great alternative for those who are not lucky enough to score a shuttle ticket as they book up very fast. It’s one of the most well-used trails in the park as it’s open to cyclists, dogs, and wheelchairs.

