Hiking Angels Landing Zion – 20 Helpful Things to Know

The Angels Landing hike in Zion National Park is famous in the national park system. It’s one of the most popular hikes in the entire country and is notorious for being scary, complex, or some tragic cases, even deadly. Still, hiking Angels Landing is a bucket list activity and one of the best things to do in the American Southwest.
After an epic time skiing in Salt Lake City, we showed up at Zion knowing none of these things. We knew we wanted to go on a hike on a beautiful sunny day in Southern Utah, and what we found was that there were many things we wish we knew about hiking Angels Landing. These tips will hopefully help you prepare for this thrilling and adventurous hike.
Get a US Parks Pass to Visit Zion
To enter Zion National Park, you must purchase a Parks Pass. Pass prices are as follows:
- 1-7 Day Vehicle Entrance: $35.00
- 1-7 Day Motorcycle Entrance: $30.00
- 1-7 Day Individual Entrance (foot or bicycle): $20.00
If you are visiting multiple US National Parks, it’s best to purchase an America the Beautiful Pass for $80 annually, which grants you access to all registered parks. It’s just $80 a year, and you won’t have to worry about stopping at park gates to pay!
Hiking Angels Landing

- Distance: 5.4 miles/8.7 km
- Elevation Gain: 1488 ft/453 meters
- Shuttle Stop: #6 The Grotto
- Hike Duration: 2 – 5 hours
- Difficulty: Moderate to Hard
- Best Time to Go: Spring and Fall. Summer early morning or evening.
New Rules for Angels Landing

Zion National Park is piloting a permit program to hike Angels Landing starting April 1, 2022, to combat overcrowding and congestion on the trail. Hikers must have a permit when accessing any portion of the Angels Landing trail beginning on April 1, 2022.
Permits to hike are available by lottery in two-time frames: seasonally (1-3 months prior) and day-before (1 day prior). Permits are available for three different time slots each day (before 8 am, between 8 am -11 am, and after 11 am. When you start, your hike will correspond to your permit time.
For seasonal and day-before lotteries, applicants may enter each lottery once and apply for a permit for six people (including the applicant). When you apply, you can select the date and time of the period you want. There is a $6 non-refundable application fee. It is $3 per person once the applicant receives the permit. The confirmation email will need to be shown (printed or digital) to park staff on the day of your hike.
Read more about the lottery system on Recreation.Gov
You’ll gain some elevation Hiking Angels Landing

The Angels Landing hike will have you gaining some serious elevation quickly. At nearly 5800 ft, this is a great day out. To climb Angels Landing, you’ll gain 1488 ft in 2.7 miles (5.4 miles round trip). Come prepared to sweat and get your heart pumping as there aren’t many flat spots.
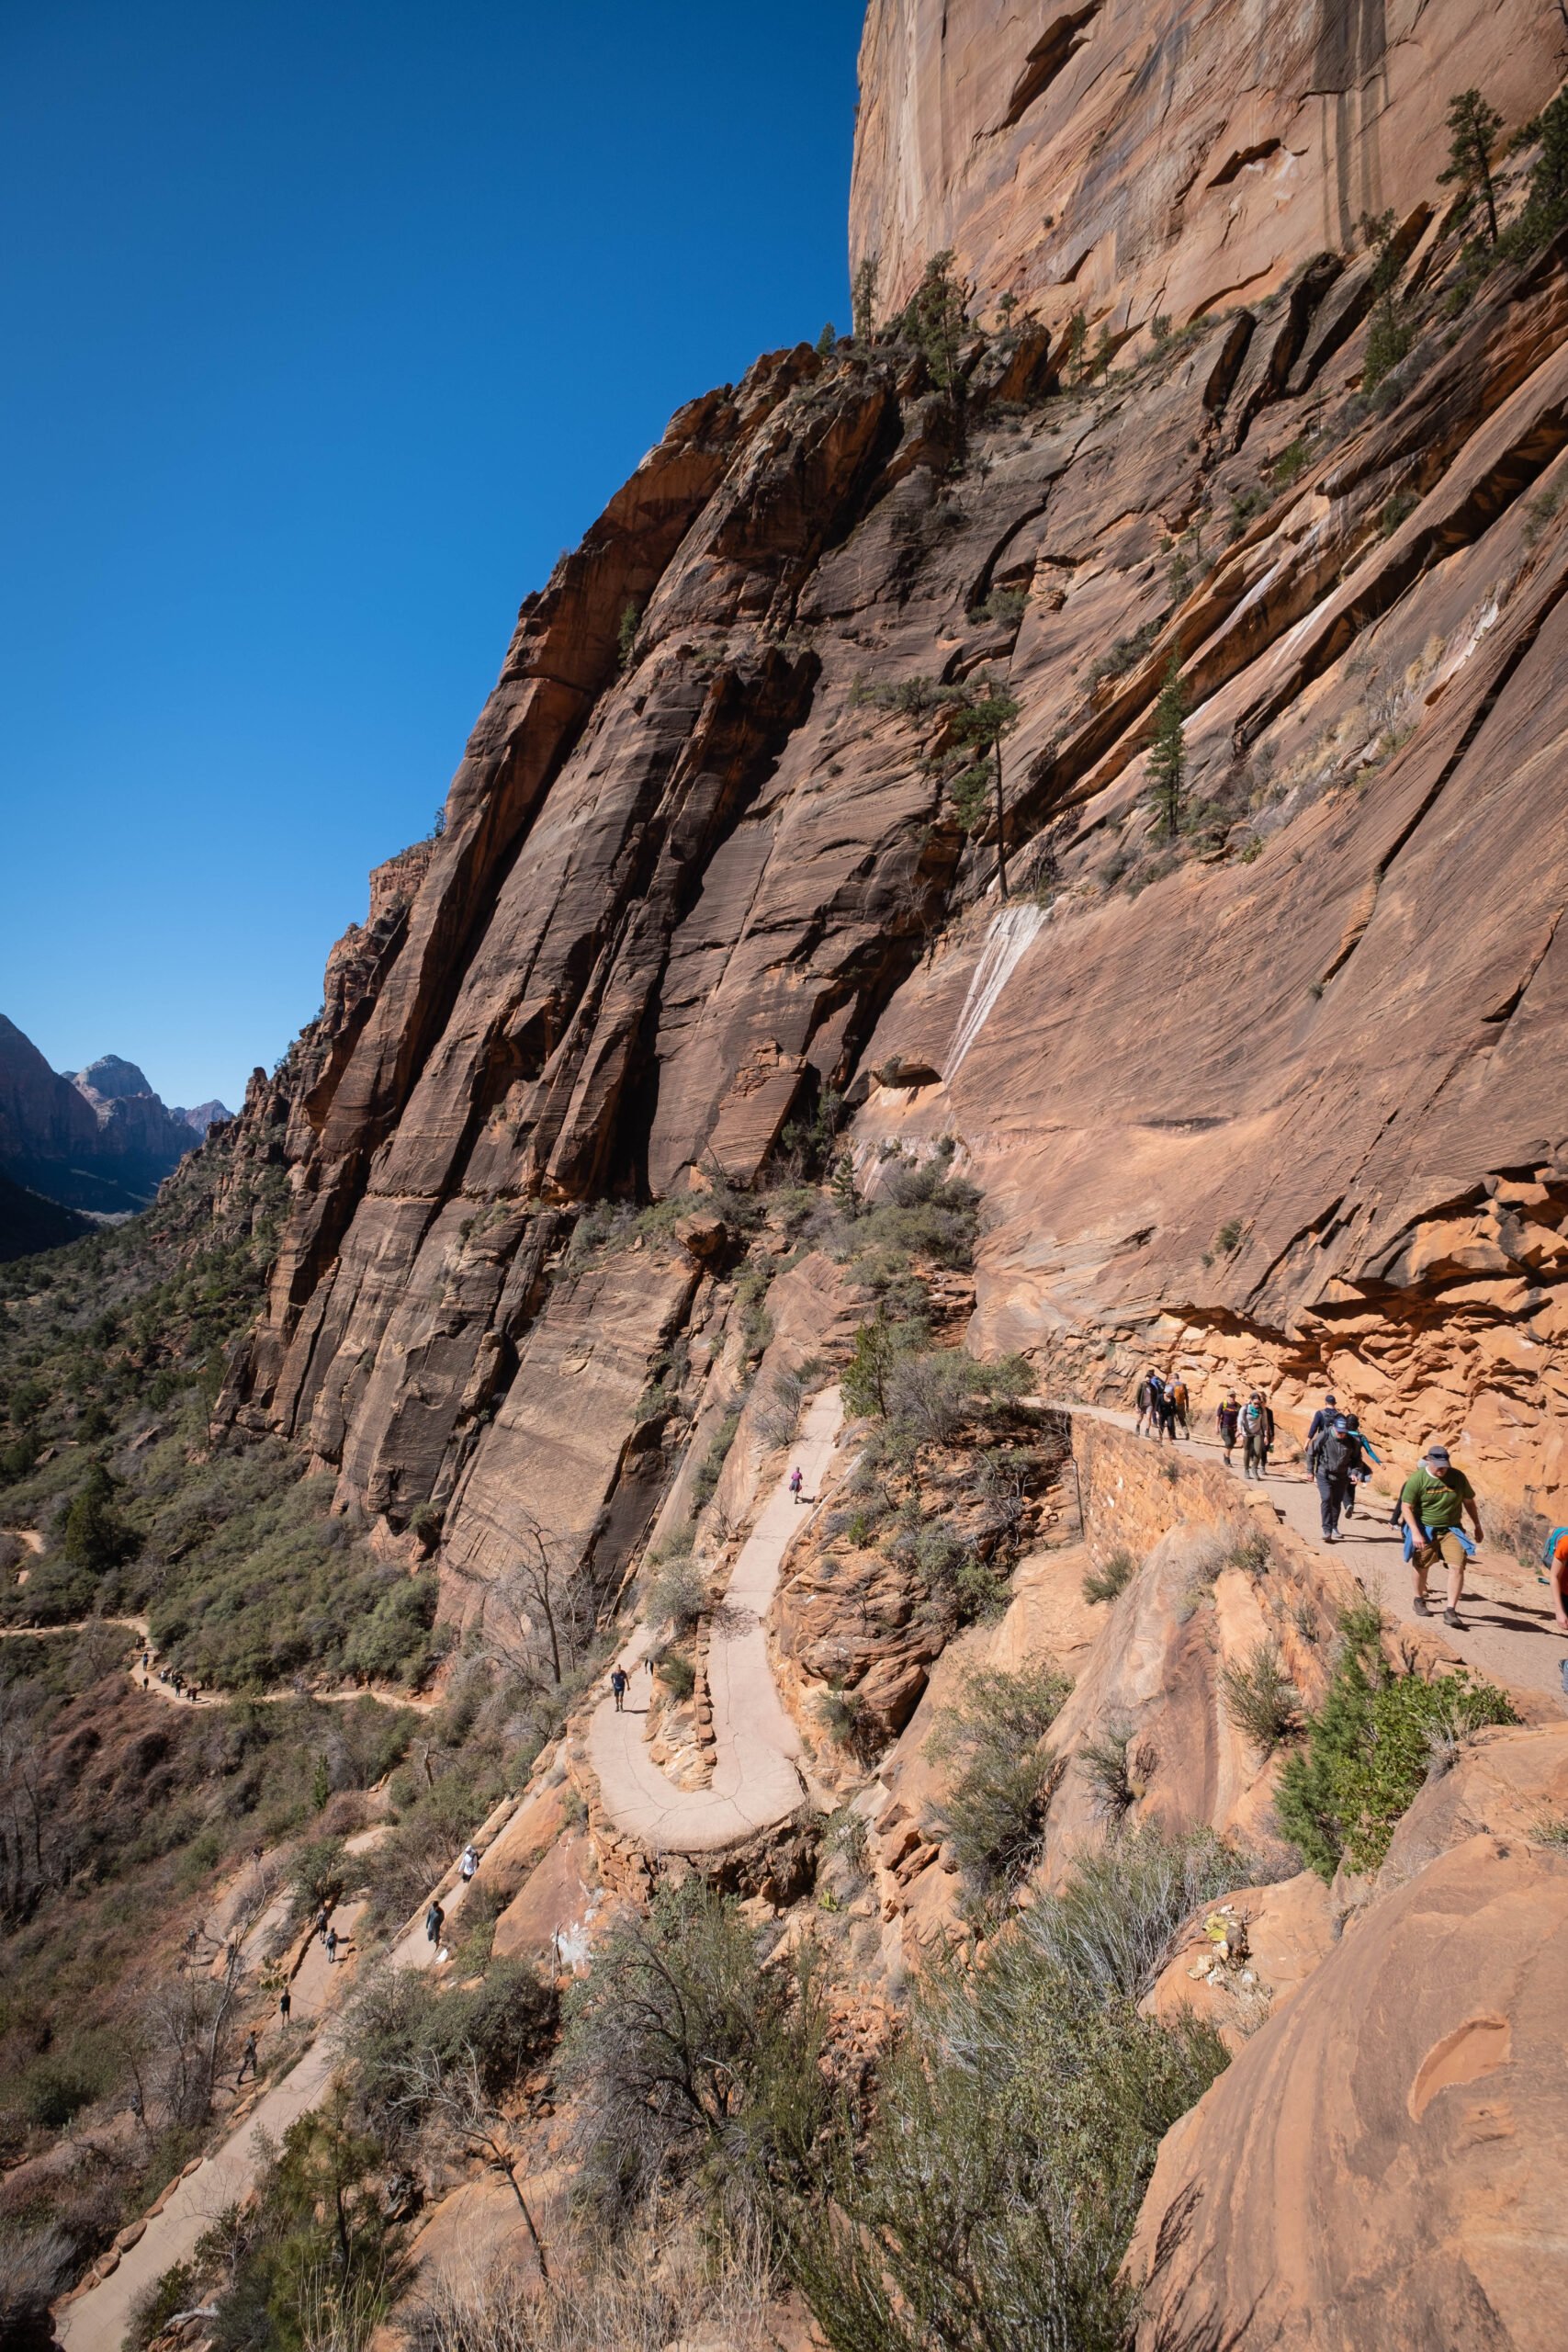
About the Angels Landing Trail

- Grotto Trailhead: The trail begins across the Virgin River at the Grotto Picnic Area. It is where the Zion shuttle will drop you off. There are picnic benches, shade, and bathrooms here. Use the bathrooms before your hike. Then cross over the Virgin River via the bridge, turn left and begin your hike. Along this trailhead, you’ll climb pretty moderate elevation. There’s little shade and plenty of sunshine so wear sunscreen.
- Refrigerator Canyon: You’ll reach this area and quickly know why Refrigerator Canyon got its name. It’s always shady and cool and will be a nice break from the sun. It’s also very mellow and will allow you to catch your breath before the switchbacks.
- Walters Wiggles: You’ll then come across Walters Wiggles, a set of 21 switchbacks that quickly gain elevation as you get close to Scout Lookout.
- Scout Lookout: After the switchbacks, you’ll see Scout Lookout, a standard turnaround point for many people. The views here are great, and you’ll feel some sense of accomplishment for making it here. If you are afraid of heights, have young children, or have mobility issues, this may be where you want to stop and turn around. Keep going for the most adventurous part of the hike.
- Hogsback: After Scout Lookout, you’ll cross the saddle, and the route quickly turns into a scramble with chains to assist. The first 100 feet are a great test to see if you should keep going, as it will give you some sense of the rest. The short-chain section after Scout Lookout is the easiest and least exposed. If you are nervous with the chain section at first, consider turning around as the exposure worsens until the summit. The busier the trail, the harder it is to navigate with the chains and cliffs.
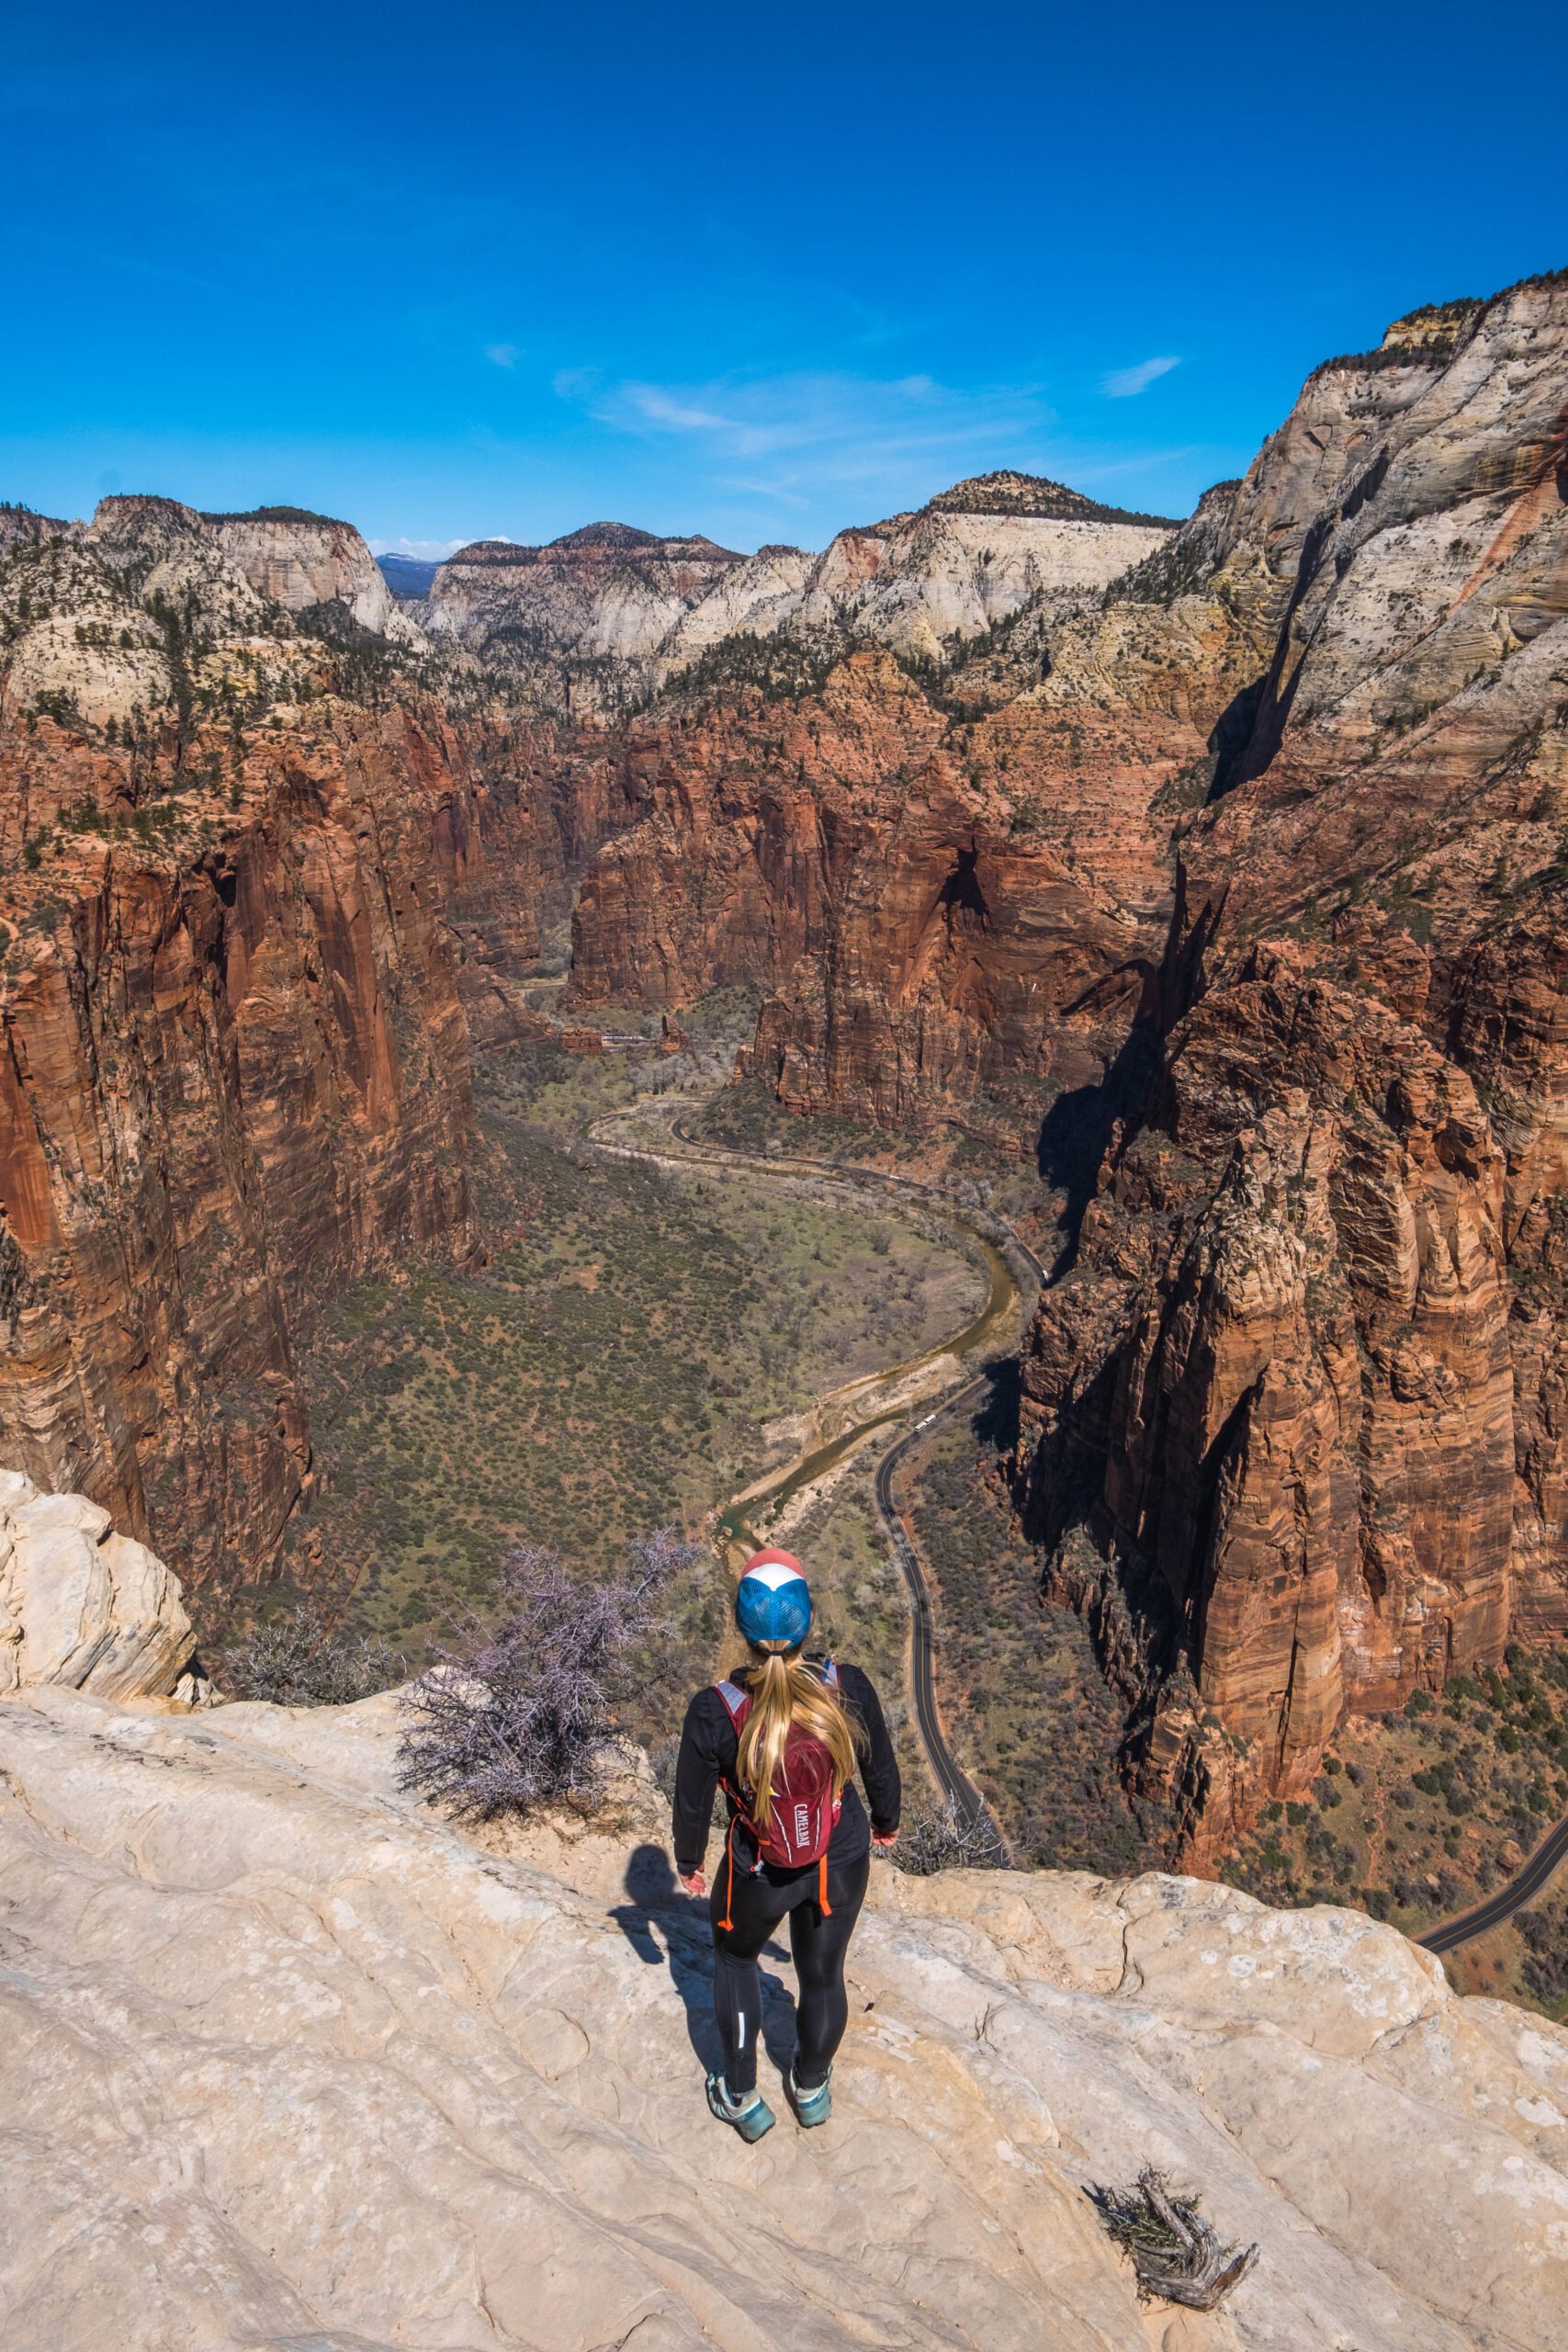
- Angels Landing Summit: After Hogsback, you’re almost to the summit. The next portion is all narrow trails, with steep 1000 ft cliff drop-offs. Luckily the chains are there to assist you. Once you make it to the top, you’ll have 360-degree views. Stay and hang out a while before heading down.
Past Scout Lookout is not for the faint of heart

Any hiking past Scout Lookout is not for those who fear heights. If you are nervous you don’t know where this section starts, don’t worry. There is a big sign to warn you about what is to come. Almost immediately, there is a chain section, and if there are crowds, it will make it more difficult as people wait and pass. A person too scared to move will create a dangerous choke point.
As you keep moving towards the summit, the exposure doesn’t get less frightening; however, the chains and stopping points are beneficial in assisting. We are frequent hikers and scramblers and found that the hike to the summit went by fast with the chain assistance, and the chain sections made the hike extra fun and exciting.
However, if you have vertigo or are scared of heights, I have to repeat, do not try and confront your fears attempting to summit Angels Landing. You’ll have to return the same way for every step you take.
National Park Service is not coming to save you if you are too scared to move (they must deal with injuries and life-threatening situations). Just hang out at Scout Lookout and enjoy the views there!
Crowds Make Hiking Angels Landing More Difficult

One of the main difficulties of hiking Angels Landing is not the hike itself but the crowds past Scout Lookout. Since the trail to the summit of Angels Landing is narrow, you’ll want to hold on to the chains.
Slow-moving and nervous hikers frequently slow the pace of everyone on the trail as there are few passing points. If you are a slow hiker, you will likely have an audience waiting for you to navigate the section. If you’re a strong hiker, it’s best to remain patient and assist the many who struggle on the easy trail.
To avoid crowds, go for a sunrise or sunset hike. Bring a headlamp if you choose to do this, and try and make it back to Scout Lookout before it gets dark.
Be Courteous

Unless you are hiking at sunrise or sunset with few crowds, you’ll likely be around many other hikers. Once past Scout Lookout, you’ll probably see some people that aren’t comfortable with the hike; that’s completely understandable as there are some seriously steep drop-offs where a fall would result in certain death.
Don’t pass anyone that isn’t comfortable with you passing them. Give slow hikers space, and offer assistance if you’re comfortable. Hiker’s etiquette is that hikers ascending have the right of way, but that all kind of falls apart as you get closer to the summit and the trail becomes more narrow.
Angels Landing Trail is Pretty Straightforward
You won’t have any issues going off-trail on the Angels Landing hike. The trail is easy to follow from beginning to end! Any wandering off the path past Scout Lookout would end in you falling off a cliff.
Utilize the Zion Shuttle

We weren’t used to dealing with the Zion Shuttle System when accessing national parks. But when I saw the numbers in Zion, I understood why they have it in place.
The shuttle stop to get off at Angels Landing is #6 – The Grotto. It’s about a 10-15 minute ride on the shuttle bus from the visitor center. The hike starts across the road from the shuttle stop past the footbridge.
Most Zion National Park (upper Zion Canyon and the Scenic Drive) operates on a first-come, first-serve shuttle system, unlike previous years when it used a reservation system.
Zion Canyon Shuttle Key Points
- The Zion Canyon Scenic Drive is closed to private vehicles during the shuttle season. Shuttle season is almost all year. Shuttles are run from March to November, weekends in February and March, and the last week in December.
- Shuttle service will begin operating at 7:00 a.m. at the Zion Canyon Visitor Center. The last shuttle out of the canyon leaves from the Temple of Sinawava at 7:15 pm.
- Bikes are allowed on the shuttle. No fat tire or e-bikes will be allowed.
- Pets are not allowed on the shuttle.
- Strollers are allowed on the shuttle.
- You can get on and off the shuttle as much as you want for the day.
There are no bathrooms

It’s important to note that the hike has no bathroom areas or toilets. Usually, I wouldn’t mention this as I can always find a nice quiet bush to pee at on a hike, but not on this trail.
There’s nowhere to venture off and use the bush easily. The crowds make it difficult ever to get any privacy. The last place to use the toilet is at the Grotto picnic area, right when you get off the Zion Parks shuttle.
You’ll need sunscreen
Besides the Refrigerator Canyon, there’s not much shade on the Angels Landing hike. You must put on sunscreen before or bring it with you, so you don’t get fried under the hot desert sun. A hiking hat and hiking sunglasses are essential too. We highly suggest some form of UV protection.
When is the Best Time to Hike Angels Landing?

The best time to hike Angels Landing is spring and fall. Summer is doable too, but it will be HOT, so if you plan to hike Angels Landing between June and early September, it’s best to do a sunrise or sunset hike to avoid dehydration and heatstroke. It is vital for hiking in the desert.
Plan an early morning hike with the shuttle system or ride a bike. An early start will ensure you beat the crowds, and if you make it to the summit before the first rays set on the mountains, you’ll score some insane views and photos.
You can hike Angel’s Landing in the winter. However, watch the weather as the trail can ice and create hazardous conditions. Especially past Scout Lookout when a fall would mean death. We recommend against a winter hike on Angels Landing, but it is possible to do it with a pair of microspikes.
We completed this hike at the beginning of April, and the weather was delightful. It was a mild day with plenty of sunshine and perfect trail conditions. We were warm on the uphill climb and wore a jacket at the summit.
Catch the First Shuttle of the Day

I’ve mentioned the benefits of being some of the first people on the trail. It means you have to do one of two things. Catch the first shuttle of the morning or ride your bike up the road. It’s a super pleasant bike ride as the only vehicles on the road are park service ones. The biking may seem a bit extra, but if there’s a will, there’s a way!
Connect Angels Landing with the Emerald Pools
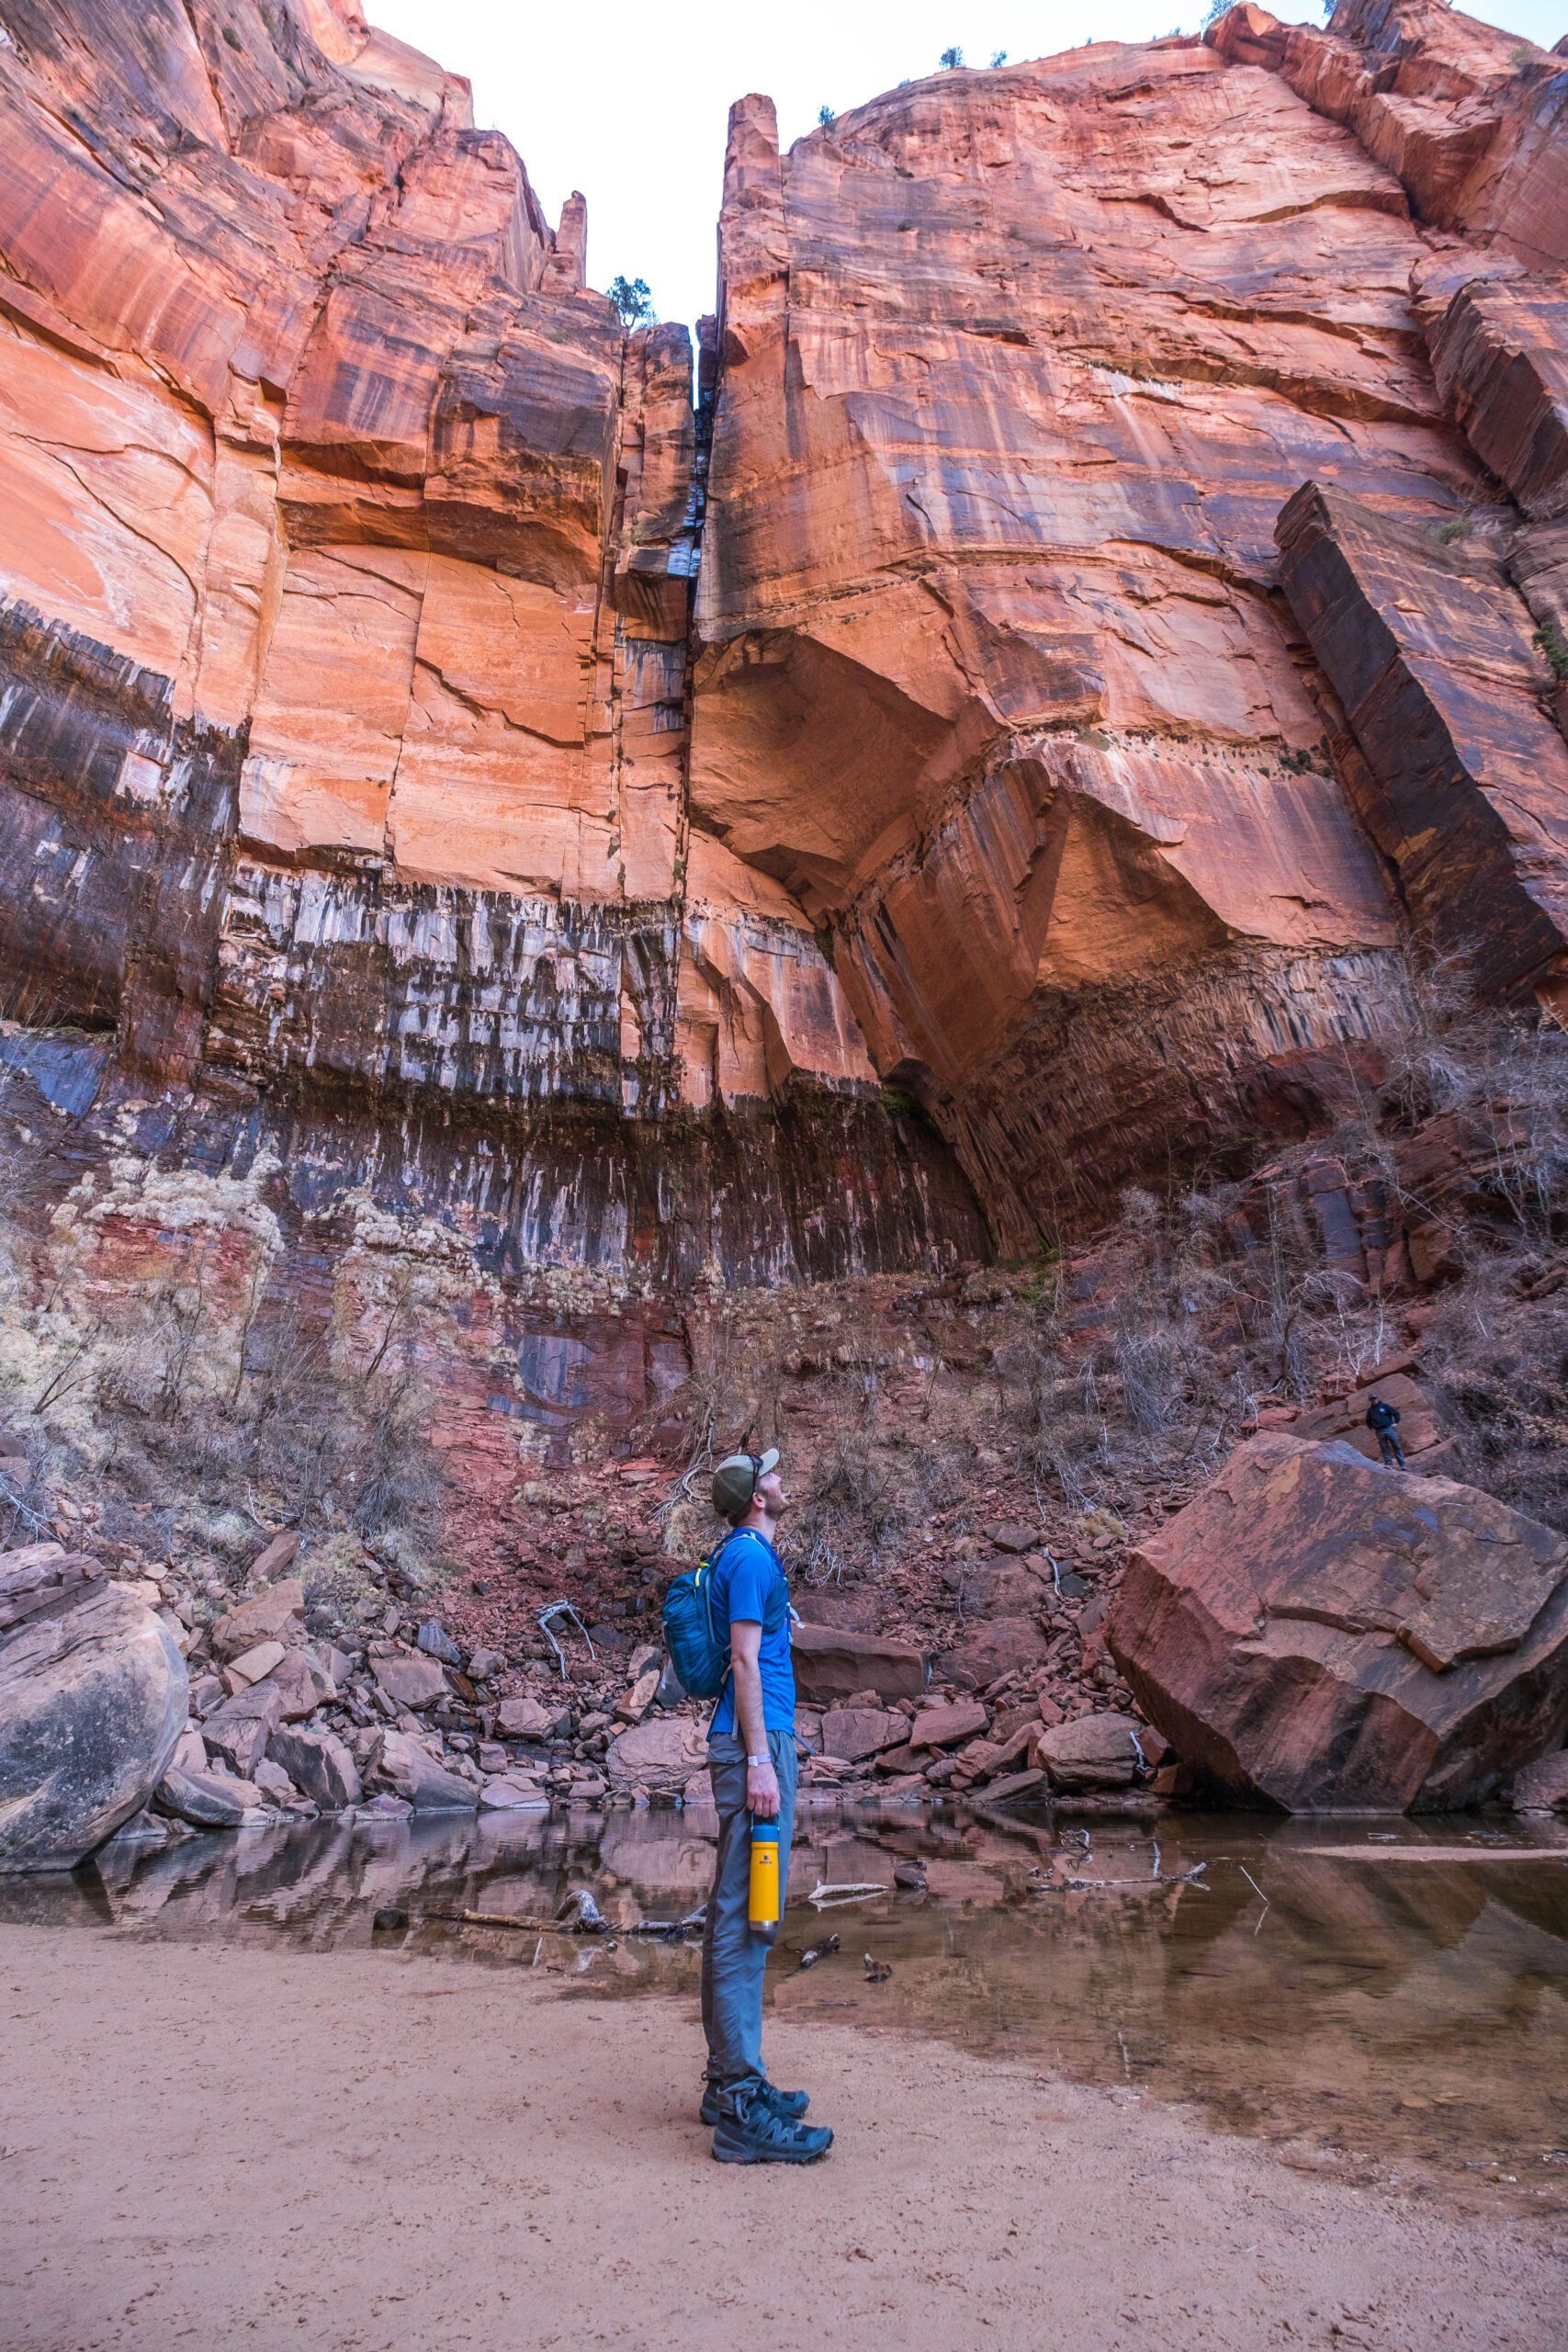
After completing Angels Landing, I recommend hiking the extra mile to Emerald Pools. It’s an easy hike in Zion that you can easily connect to at Angels Landing trailhead. The walk to Lower and Upper Emerald Pools requires minimal elevation gain. Although it’s not nearly as thrilling as Angels Landing, it’s a nice side hike to add to your Zion itinerary.
Is Angels Landing the Scariest Hike in America?

Several articles name Angels Landing “the scariest and most dangerous hike in America.” It is not that bad. We do not spend much time hiking in the United States, but in comparison to the Canadian Rockies and Alps, Angels Landing is moderate. The hike sees over 1500 hikers a day ranging in age and ability, so that should tell you that it’s not crazy hard.
If you are a frequent hiker and summitted a few mountains, you won’t have any issue with Angels Landing. You will not have any problems if you are a confident hiker and not afraid of heights. Angels Landing is not too physically demanding, but perhaps more mentally demanding, given the risk.
The steep drop-offs might make your heart stop. I certainly would not have felt comfortable on Angels Landing without the chains. However, using them to conquer the summit makes it extra fun.
How Long Does it Take to Hike Angels Landing?

You can complete Angels Landing in two hours without a long summit stop if you are a fast hiker. However, you may get held up by crowds along the chain section, depending on the time of day.
We’re fast hikers with solid legs, and we finished the trip with 2.5 hours of moving time. That number includes 30 minutes of us waiting for ascending hikers on the way to the summit. We hung out at the trail end for around 30 minutes to enjoy the view and the sunshine.
An average hiker should estimate Angels Landing to take around four hours total. It’s a great half-day adventure in Zion that you won’t regret!
Items to Pack for Angel Landing
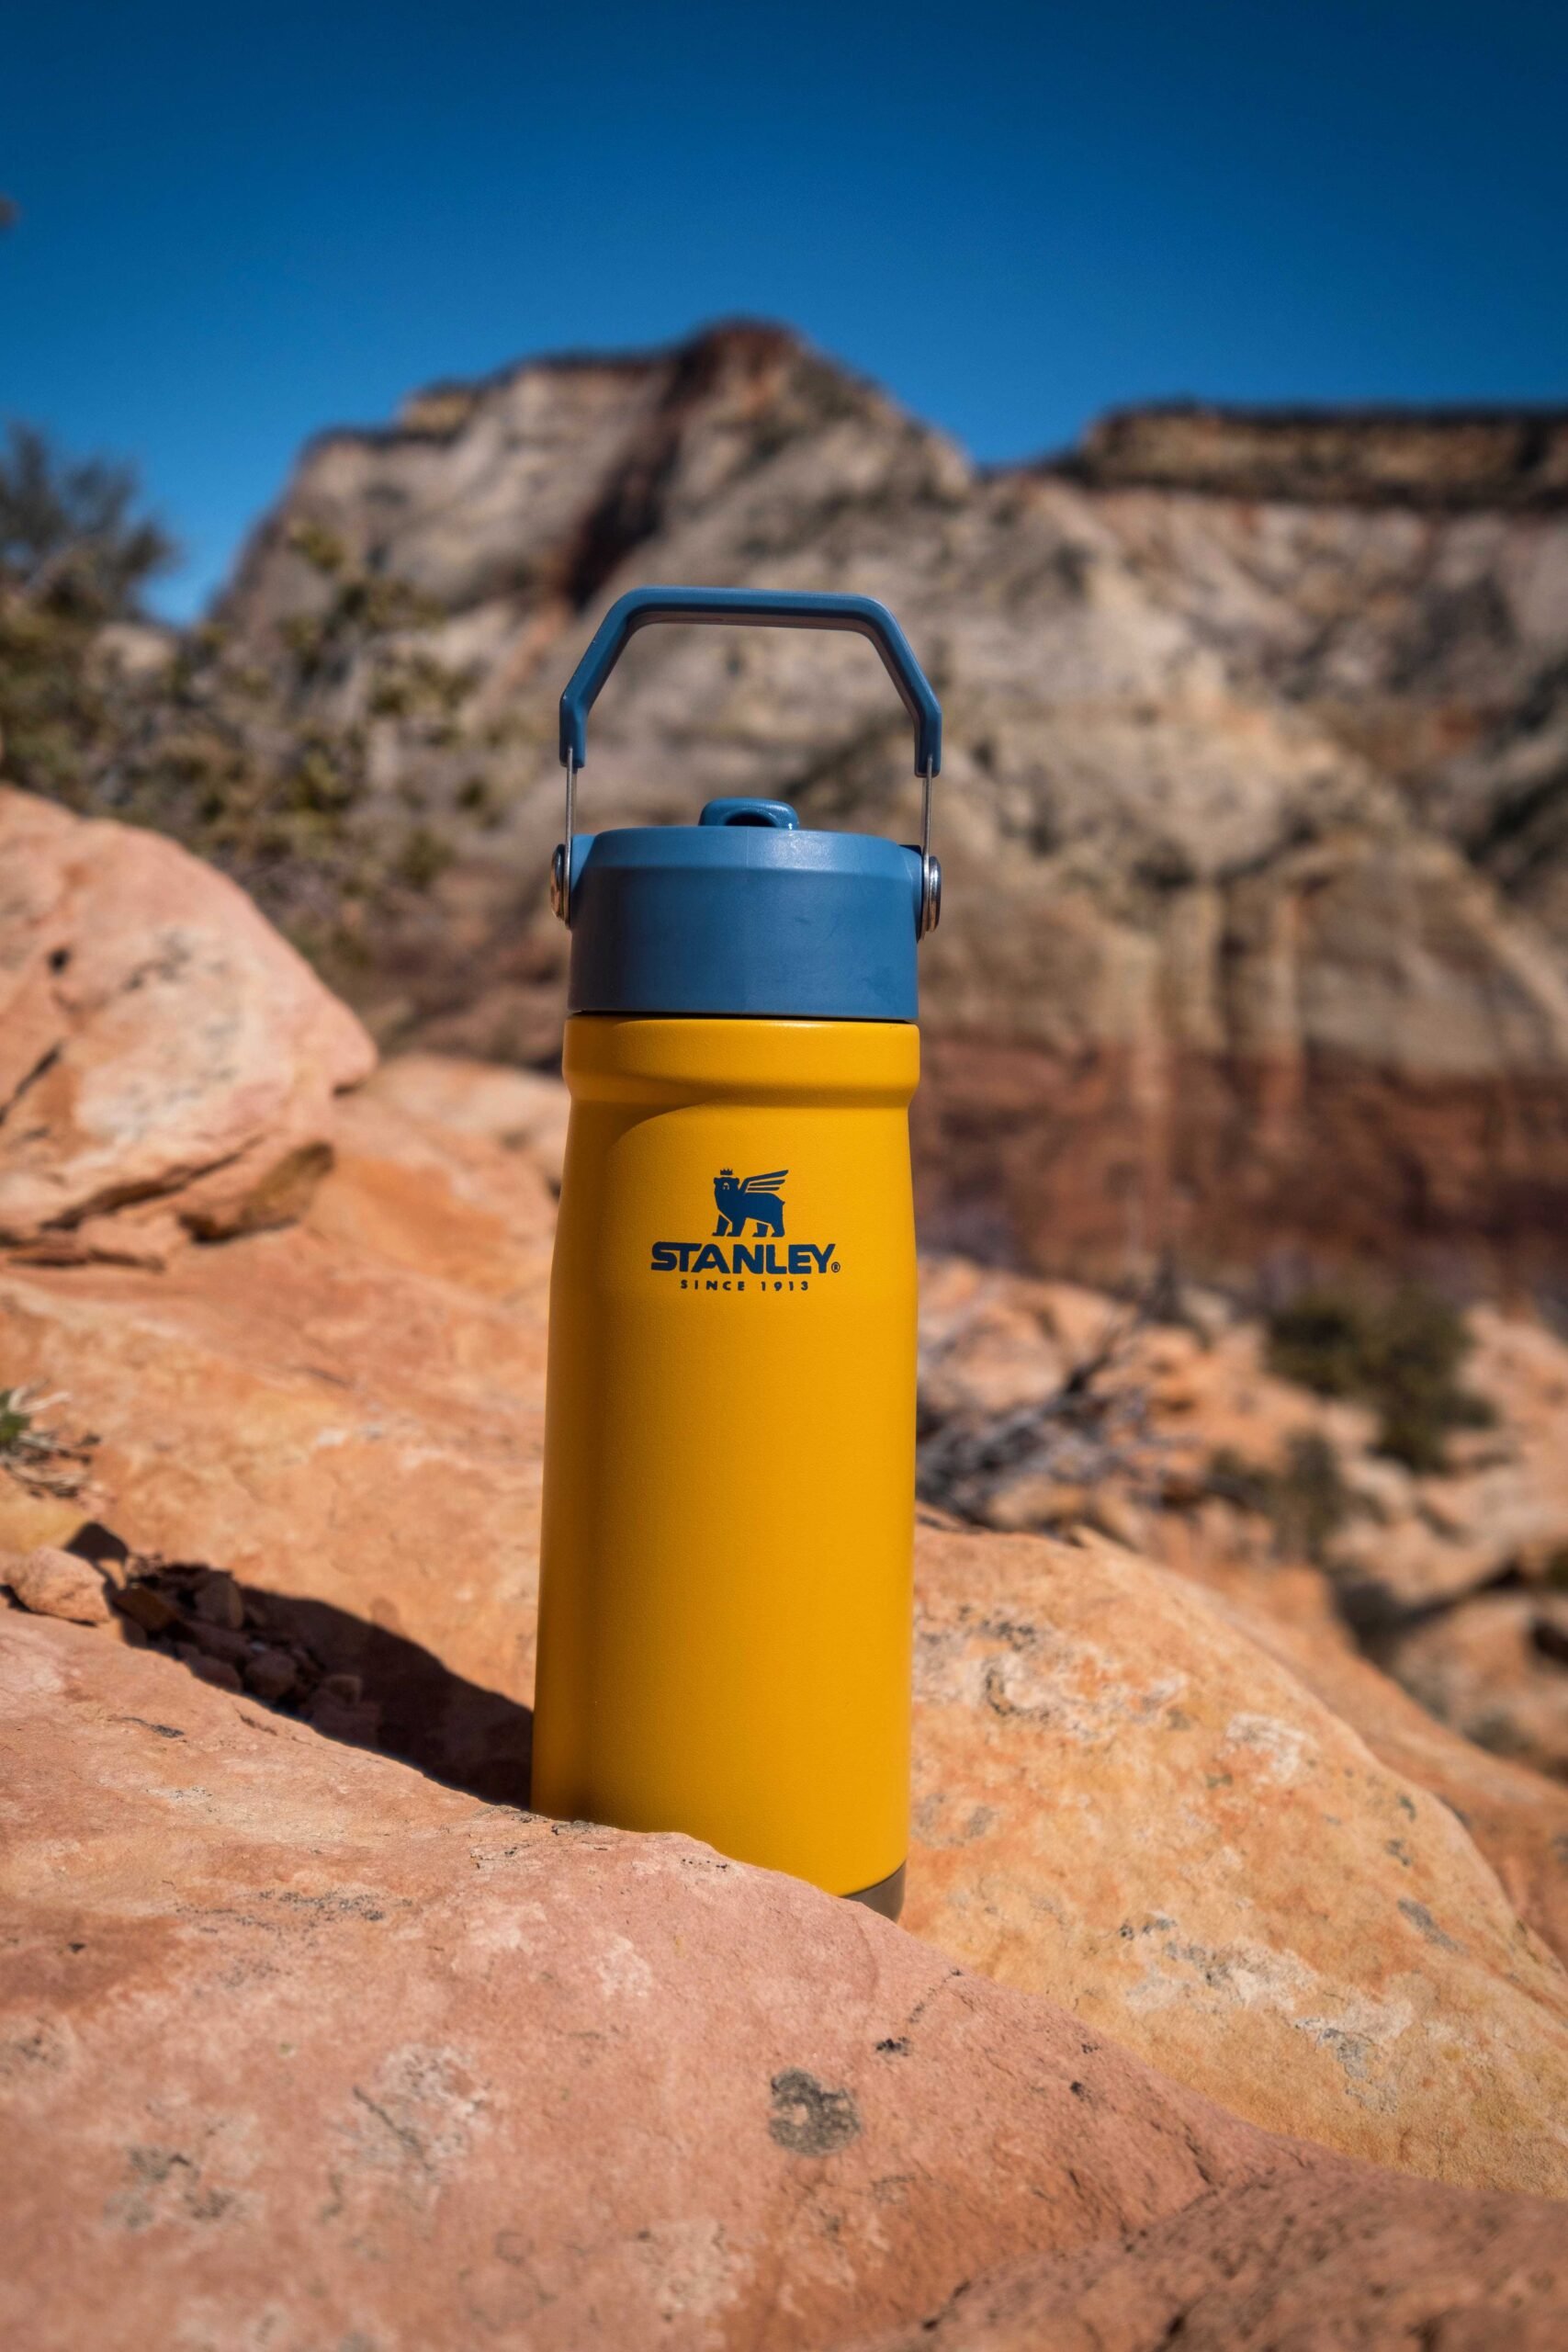
- Water: You will need water on this hike. We went out with our Stanley IceFlow bottles to keep us hydrated with extra cold water on this desert hike. They keep drinks cold for hours, even under intense heat. It was in addition to water bladders in our backpack.
- Sunscreen: As mentioned before, don’t venture out without sunscreen. The sun here in the desert is intense.
- Trail runners: You’ll want shoes with fantastic traction for this hike. My favorites are the Salomon Speedcross Trail Runners for hiking in the desert.
- Shorts: Hiking shorts are ideal for hot hikes like this. (Men’s hiking shorts recommendations & women’s hiking shorts recs)
- Hiking Shirt: Moisture-wicking, quick-drying hiking shirts are perfect for hikes like Angels Landing. Outdoor Research makes my favorite hiking shirt!
- Hiking Hat: Protect your forehead and eyes from the harsh sun.
- Sunglasses: I don’t hike without sunglasses, good ones with polarization to protect my eyeballs. I only have one set of them, after all!
- Snacks: You’ll want something to snack on when you get to the summit. I love energy bars, an apple, and fruit chews.
Leave Your Furry Friends at Home

No pets on Angels Landing hike, so make sure to leave them somewhere they are comfortable and cool. Springhill Suites is a great pet-friendly hotel in Springdale.
Check Out Some of the Other Zion Trails

- Watchman Trail: Leaves from the visitor center and is an excellent easy to moderate trail with fantastic sunrise and sunset views.
- Observation Point: 8.0 miles and 2150 ft of elevation gain will get you up Observation Point. It’s a less crowded option with similar views to Angels Landing. (Currently Closed 2021)
- The Narrows: It is perhaps the most famous hike in Zion. The Narrows is the narrowest section of Zion Canyon and has hikers hike through the gorge in a running river. Hike in as far as you like, then turn around!
14 Best Hikes in Zion National Park
Enjoy a Beer When Finished!

To end this fantastic day in Zion, we couldn’t help but stop at the Zion Brew Pub for a beer while the sun went down. It’s a great place to stop and hang out after a day in the park. They have an excellent dinner menu too!
Stay in Springdale to Access Zion

Springdale is the best place to stay near the Zion National Park action, which borders the park gates. Springdale is a cute desert town with a surprising number of hotels and restaurants. Some cute boutique shops and even a delicious coffee shop or two.
Prices in Springdale are higher than elsewhere in Southern Utah, and places book up fast. To get the best rates, book well in advance.
